Installing iBeacons is Easy

November 14, 2017

We have finished installation of approximately 250 iBeacons for mobile app positioning. Although the installation process is easy. There are some tricks and common practises to follow, when setting up iBeacon based indoor positioning.

iBeacons installation

iBeacons are cost effective indoor positioning devices, that are really easy to install. As each iBeacon has it’s own battery, that can last about a year, then there is no need for external power supply. Devices are very light, so it is possible to mount them by using double-sided tape.

Even though the installation of one iBeacon is a simple matter. Overall installation process can be quite long and somewhat physically exhausting due to the constant climbing up and down the ladder/platform.

At first glance it might seem that the device will disrupt the look of the building. But, as we can see from the image below, if you take into consideration the overall theme and look of the building during choosing of the device, it merges into the plethora of different sensors and equipment covering the ceiling.

Installing iBeacons

Before installing devices. It is important to mark down the specifications for each iBeacon device. Each iBeacon has it’s parameters: unique ID, name and range.

It is also a good practice to mark the iBeacons. So that you know you’re installing the correct device to the correct location. For this we used a label printer.

iBeacon

Plan before iBeacons installing

It is good to have a plan before physical installation. We used the map of the building to first draw a layout of the placement of the devices and their coverage area. It is a common practice to have a minimum of 3 iBeacons covering any part of the mappable area for the navigation to work efficiently.

iBeacon coverage map

Configuring iBeacons in 3D Wayfinder is also easy. Just create a node with type “iBeacon” and enter iBeacon parameters (UUID, Name etc.). To manage all the devices from one place, open “Beacons” from the left-side menu. You can do this prior to the actual installation when you are confident that your layout will work.

iBeacon management

It is highly recommended to install the iBeacons to a height unreachable for the visitors of the building, so no one could easily snatch them. We installed the devices onto the ceiling. For this we used a painters platform that had wheels on them so it is easy to move it around the building. We recommend setting the platform to a height so the person installing the devices could stand up straight and then reach the ceiling without having to stretch too much.

Good time to install iBeacons in a shopping mall is when there are not that many people.

Here you can find more information about using iBeacons with 3D Wayfinder. If you’d like to test iBeacon-based positioning, please submit the request form for demo iBeacons.

« »

3D Model Converting Problems Partially Fixed

November 8, 2017

In recent days, we were having problems with 3D model converter. These problems are partially fixed now, so converting non-corrupted 3D files shouldn’t cause any interruption anymore.

3D Wayfinder’s model file converter has stopped quite often lately, when converting corrupted 3D floor-plan files. Every time converter stopped, we had to start the process manually and clean the converting queue.
All 3D files are converted to JSON format, so they can be load in 3D Wayfinder. Our converter supports many 3D file formats, most common are FBX and DAE.
The problems were with couple of models, that caused invalid JSON when converting.
We have added error catching for this, so the rest of the converting process can resume and these corrupted models don’t interrupt other 3D models to be converted.
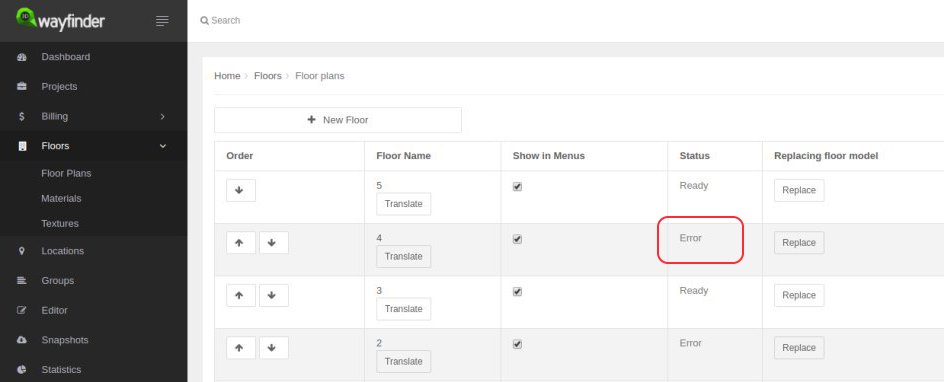
If converting of 3D floorplan model fails, you’ll get “ERROR” response in 3D Wayfinder Administration:

3D_model_converting_error

Other reasons, that 3D files couldn’t be converted are mainly caused by using non-UTF characters in mesh names.

« »

Wayfinder With Digital Signage Software

November 2, 2017

We have tested 3D Wayfinder integration with Digitalsignage.com software. Integrating wayfinding with digital signage media management gives additional purpose for advertising screens.

DigitalSignage.com is created by MediaSignage Inc. It is free digital signage software. Including signage player and media content management. Their software is used in over 200 countries. Since the first release, the software has been installed on hundreds of thousands of PCs.

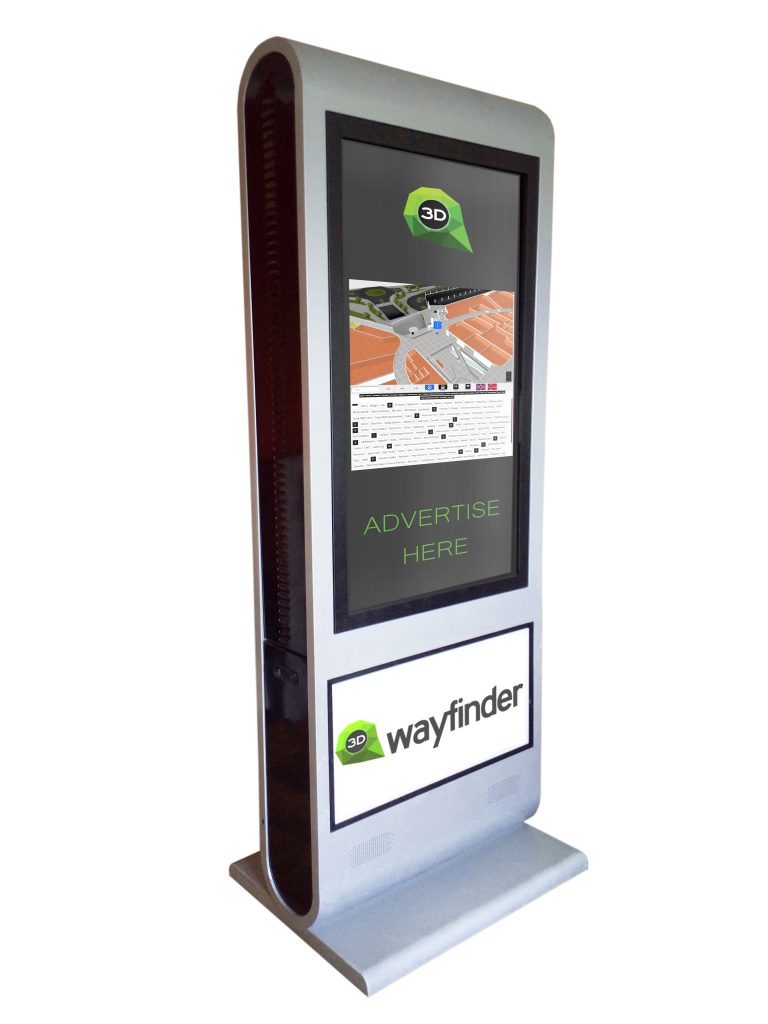
DigitalSignage.com software is web-based. So it is really easy to use 3D Wayfinder as a part of the media player screen layout. Let’s say, that there are top and bottom advertisement banners on the portrait screen and wayfinding application is set-up on the middle of screen.

Wayfinder kiosk

Screensaver mode

More advanced integration is switching advertisements with wayfinding application. This is something, we call “screensaver mode” when creating layouts for 3D Wayfinder. With Digital Signage software the simple way is to switch between wayfinding and advertising screen. Digital signage itself lets you create switching timelines, channels and content. We do not go into that much. Because there are plenty of examples in their documentation.

More sophisticated way to change between 2D map and screensaver can accomplish with event and triggers. Under Digitalsignage.com documentation http://docs.digitalsignage.com/ look for remote values. It describes what should be include in your app to be able to send event to their server.

Two functions that are important in 3D Wayfinder events case are ‘onSessionStart’ and ‘onSessionEnd’. They both are used by our statistics module. But if you do not have any need for statistics then you could overwrite these functions.

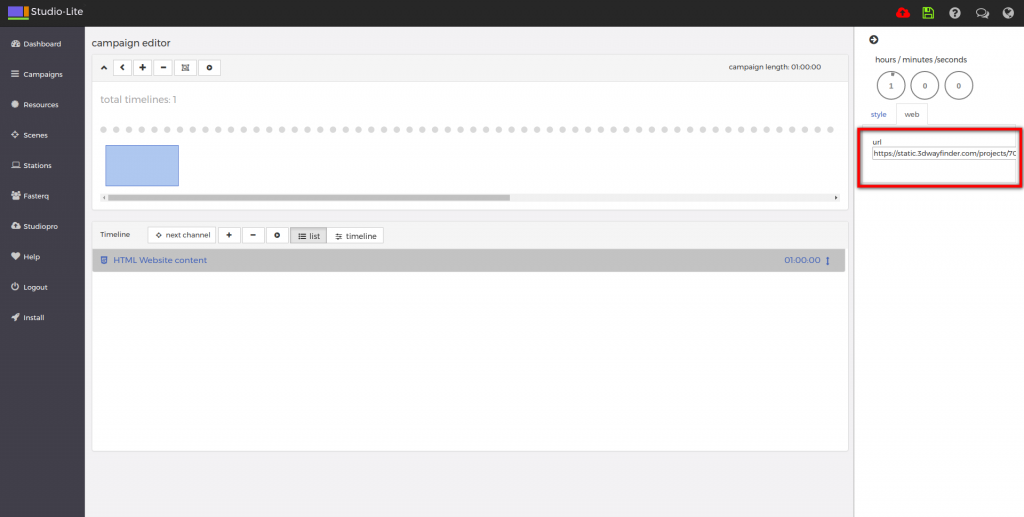
With signage free version you can use our 2D map with ease. Just include HTML component into your campaign and add link to your project.

digital signage

From documentation we could find out that signage players HTML component does not support webgl. But according to docs we should be able to get out 3D maps working with Browser component and signage player should be working on windows machine. Browser component is available for enterprise users.

« »