Locations and groups
Locations can be shops, rooms and other objects on the floor plan. With groups you can group them for better overview. For example you could group all clothing stores to highlight all clothing stores on map.
Managing locations
When selecting from the top menu “FLOOR PLANS” and then “Locations”, you’ll get the list of all locations entered into your project. Here it is possible to add, change and delete locations.

There are following fields for each location:
- Show in Menu
- Always visible
- Logo
- Room
- Name
- Description
- Floor
- Groups
- Tags
To quickly find the location you would like to edit, you can also use table filtering, by entering text in the search field (right on top of the table). The list of locations is then being filtered based on their names and descriptions.
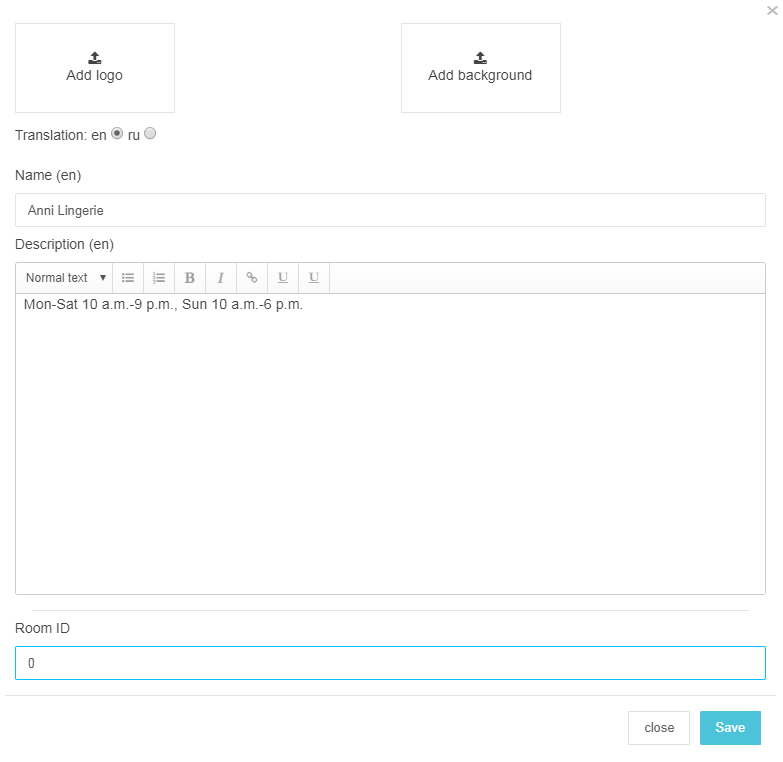
By clicking “Edit” you can edit location in opened window:

Here you can also add images to locations by clicking “Add logo” or “Add background”. This will open the gallery, if you have already uploaded the images or enables you to upload new images.

Selected image appears instead of upload area. With the little trash-can icon it is possible to remove the image.
When saving location, uploaded icon images are visible also in location list.
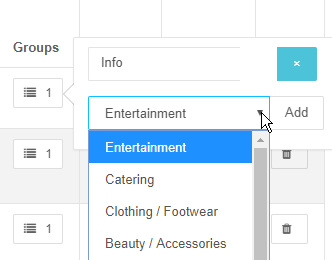
To change the groups the location belongs to click on the number in “Groups” column. Group selection dialog appears:

First you must have entered the groups to 3D Wayfinder (See Managing groups section).
One location can belong to many groups and you can also remove connected groups from location.
The same way you can add and remove tags for the location.
Adding new location
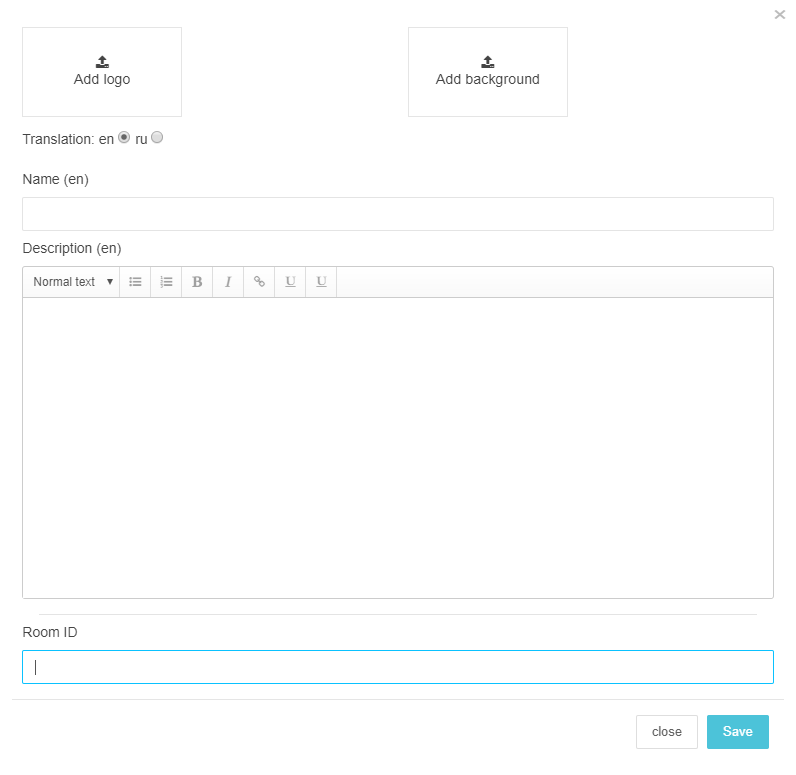
To add a new location, click on the “New location” button. This will open separate window, which is similar to the location edit window.

After entering location name, description and images press “Save”. This will save the location and added location will appear in location list.
Managing groups
You can add new group by clicking “New group” mark on top of groups page. Separate window will open, where you can enter group’s name and background color. For each group you can also upload image or icon, by clicking “Upload logo”. When clicking “Save”, the group will be saved and will appear in groups page.

Groups have two choices for showing 3D Wayfinder menu:
- Show in menu – when selected, the group will be listed in 3D Wayfinder application
- Hot group – these groups will be always on top
In list view you can edit groups by clicking “Edit” button in the same row. You can also delete group, remember this doesn’t delete locations connected with this group.

