Navigation
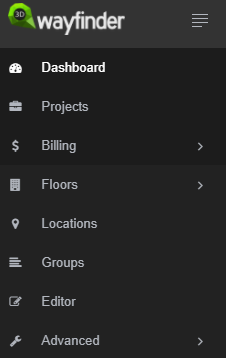
After logging in to 3D Wayfinder you’ll see the following menu on the left side of the page:

- DASHBOARD takes you to the project’s overview page.
- PROJECTS shows a list of all of your projects.
- BILLING menu includes plan selection, billing info, add-on ordering.
- FLOORS is for managing floor plans, materials and texture images.
- LOCATIONS opens list of locations with their options.
- GROUPS opens list of groups and their options.
- EDITOR is for creating and editing paths.
- ADVANCED is for changing settings, translations and templates.
If you have no project created yet, then only “BILLING” section is active. To create a new project go to projects page and click “New project”.
On the top of the page you can find quick access menu.

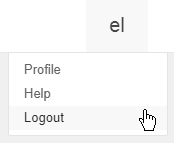
When clicking on your user name preview, user profile page, help and logout button open.

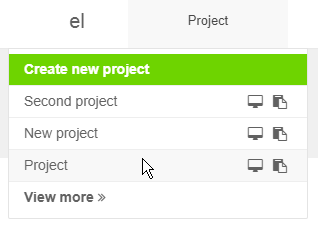
Clicking on the project name will open drop-down menu where you can see five of your most recently edited projects. There are two icons beside every project name: the screen icon will show user interface and the clipboard icon will copy the project ID. You can also create a new project and go to your projects page straight from here.

The screen button beside it is for opening active project.

