Setting up Bluetooth Beacons
Here is a short tutorial about setting up Bluetooth beacons in 3D Wayfinder CMS. Beacons can be used for positioning indoors, but they can have more use cases than just positioning.
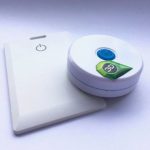
Beacons (iBeacons) are low-energy Bluetooth devices, that can transmit their unique ID. Based on this ID and other settings it is possible to use beacons for indoor positioning. Beacon-based positioning works only with mobile applications. To use 3D Wayfinder mobile app or integrated mobile application, you have to enter beacons in 3D Wayfinder and locate them on map. Then you can install beacons inside the building ).
Entering beacons in 3D Wayfinder
Every iBeacon has 3 main parameters. First is UUID (Universally Unique Identifier) that is set by beacon manufacturer. Some beacon manufacturers write the same UUID to all beacons. For 3D Wayfinder it is not a problem, as we use also Major and Minor attributes. These are both numbers. They are both 0-s by default. So, we take UUID + Major + Minor to give unique value for each beacon. We usually set the major value to the floor number in the building, where the beacon is installed and minor is unique increasing number.
NB! It is important that there are no same combination of UUID + Major + Minor.
Besides UUID, Major and Minor, usually there is also signal strength option for every beacon. Depending on the location and the accuracy needed we adjust the signal strength.
If there are open areas and there are a lot beacons we usually decrease the strength so there isn’t so much noise.
3D Wayfinder uses a internal radius value which is derived from the signal strength. The default is 22 meters. We use the radius instead the signal strength value because if you are using different products inside your building the signal strength value can vary between products or newer versions of the same product. Also it is simpler to understand and to draw on a map.
Next parameter is the advertisement interval. Lower is better for user movement (position is updated more often) but it also decreases the battery lifespan (if the beacon uses batteries). We usually set it to 300 – 450ms.
All these parameters can be read and programmed with software provided by beacon manufacturer or some generic software or app.
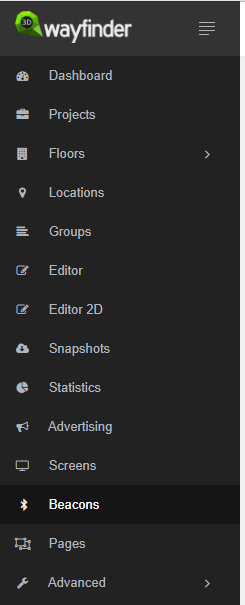
To manage beacons, you have to select “Beacons” in 3D Wayfinder administration panel.
Beacons page will display all entered beacons. Beacons can be filtered by names similar to locations, groups or other lists in 3D Wayfinder. In this page we have all the important parameters shown and also we use name for the beacon for better understanding.
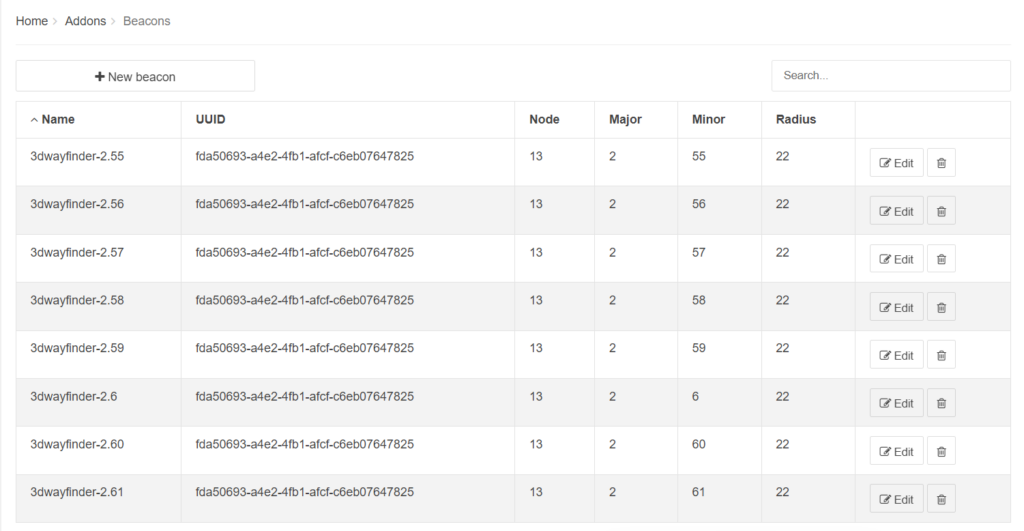
Initially there are no beacons on the list so you can start adding them by pressing “New beacon” button. After adding new beacon or modify existing one, you will get beacon management form.
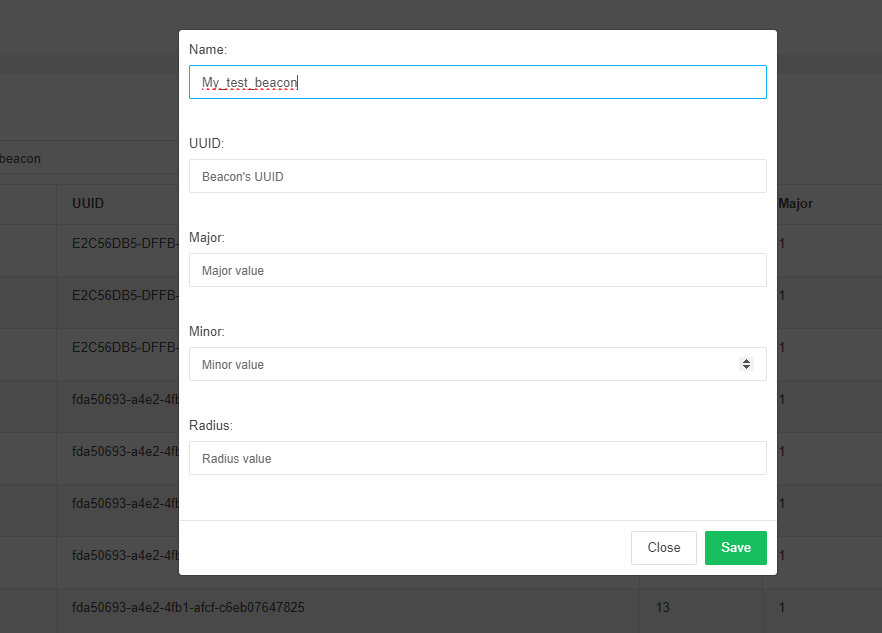
Besides UUID, Major, Minor and name, there is also radius.
The radius affects how strongly the beacon affects the calculation of the location, the smaller the beacon, the more it “pulls” towards itself. The algorithm takes the transmitter strength of the beacon and inversely multiplies it with the radius of the beacon. In other words, if the strength (RSSI) of the beacon transmitter with a smaller radius is strong, the probability is higher that you are close to it.
Beacons with lower strength are good to use in places where there are many beacons (large areas) or when there are openings between floors. where the beacon of the upper floor can also beam its signal.
After adding or modifying beacon properties, just press “Save”. This will close the form and save the the data.
Mapping beacons to the map
After adding beacons under “Beacons” page, you also have to connect them to the map. Otherwise it is not possible to position as the systems doesn’t know where the beacons are located.
For this you have to open Editor in 3D Wayfinder. Navigate to the right navigation node and click on it. This open the menu, where you have to select “Edit”.
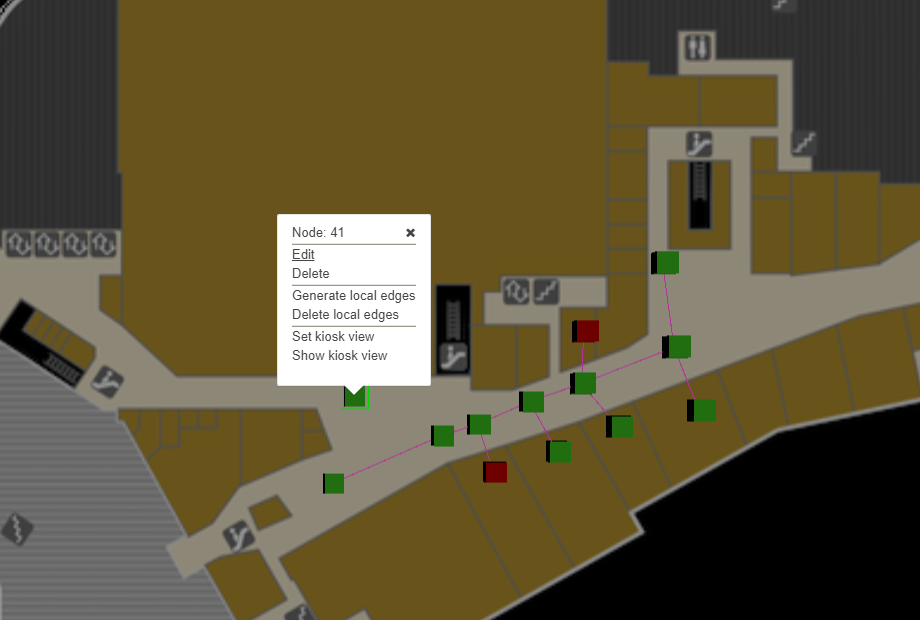
After selecting “Edit”, menu with node options will be opened. Last section is “Beacons” where you can add connected beacon.
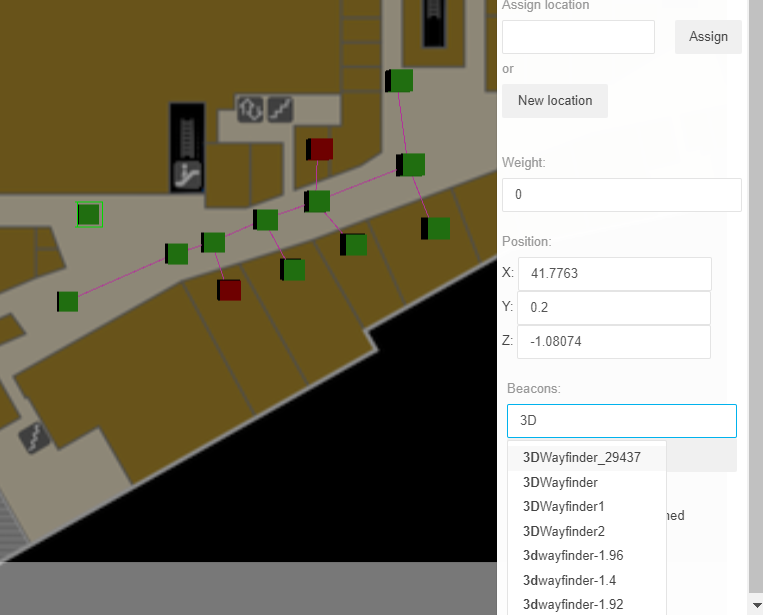
By typing beacon name into the text box, you will see results below. Just select the beacon name you would like to connect with node and click “Add”.
Connected beacon will appear under “Connected Beacons” section in node properties form.
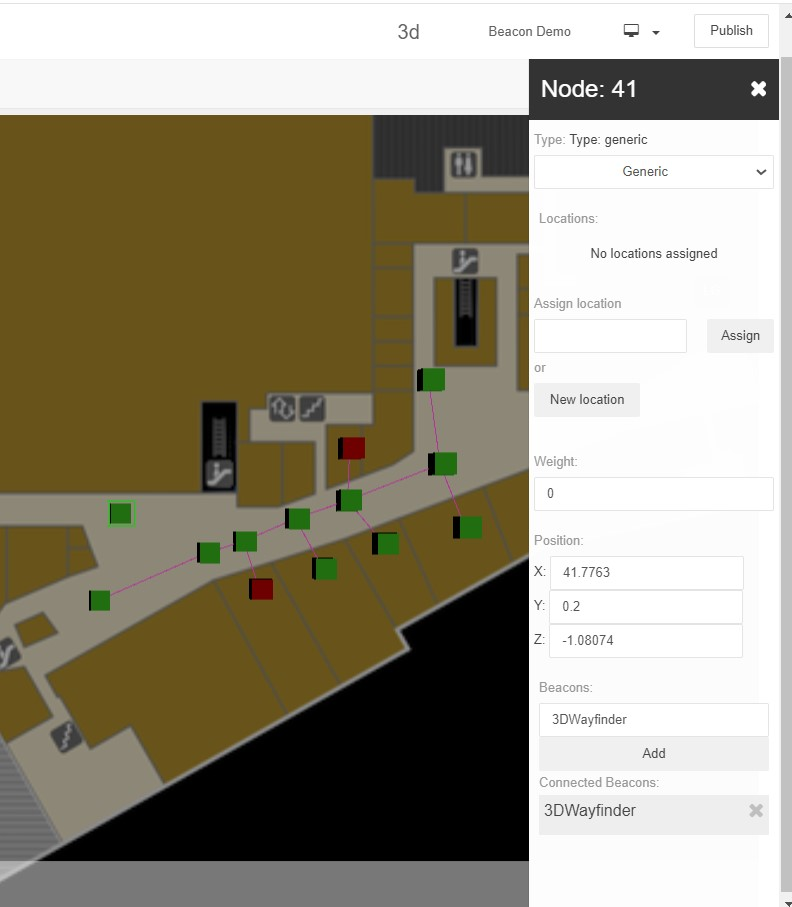
By pressing “X” you can also remove the beacon from the node. Remember, that one beacon can be connected with one node.
If you have technical questions of how to use beacons and 3D Wayfinder maps for indoor positioning, please contact our support.

