This tutorial will show you how we use bevel in some of our 3D wayfinding maps.
There are 3 main options in Blender to get the beveled edge look.
First is the Bevel Tool
Select the object you want to bevel in Blender, go to edit mode then select the bevel tool from the left row (press T key to enable it if it’s hidden).
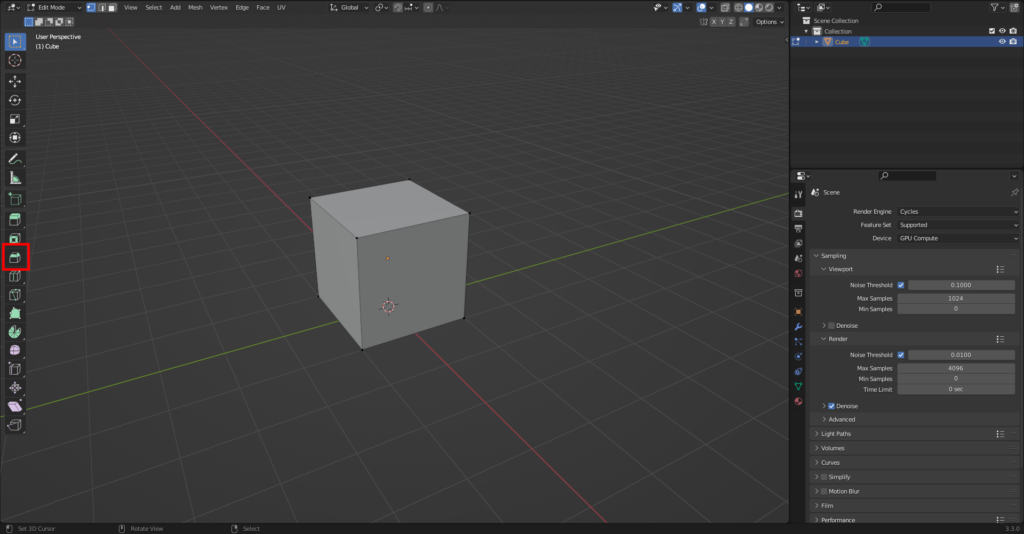
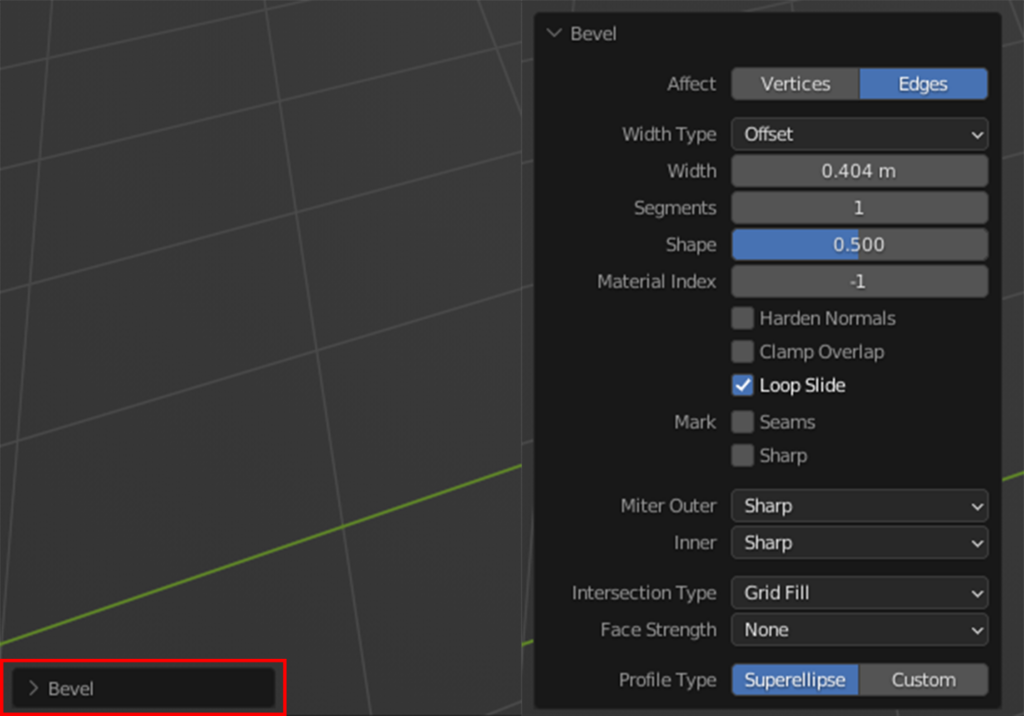
Select the edges you want to bevel and click and drag the yellow circle to adjust bevel amount. When satisfied you can further fine tune it in the toolbar that’s located on the left bottom side. Faster way to add the bevel tool is to use shortcut ctrl + B and adjust amount with mouse. Press right mouse button when you are done.
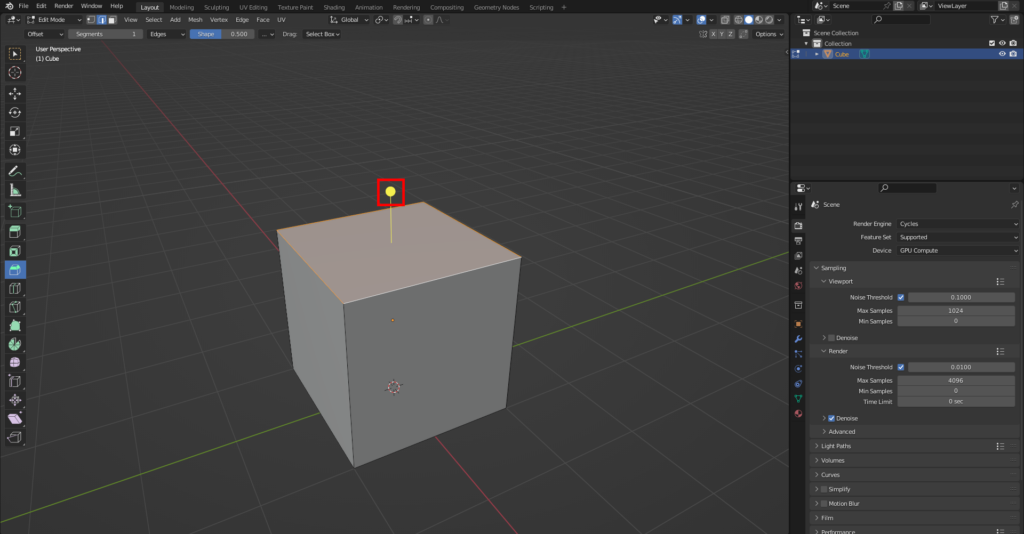
Second, Less Common Way is to Use Extrude & Scale
Select the object you want to bevel in Blender, go to edit mode then select the face(s) of which edges you want to Bevel. Extrude (press E key) the face(s) on z axis (press Z key) and move them up a bit. Then scale them down (press S key) until you have the desired look.
WHEN YOU ARE BEVELING MULTIPLE OBJECTS AT THE SAME TIME MAKE SURE TO CHANGE TRANSFORM PIVOT POINT TO INDIVIDUAL ORIGINS.
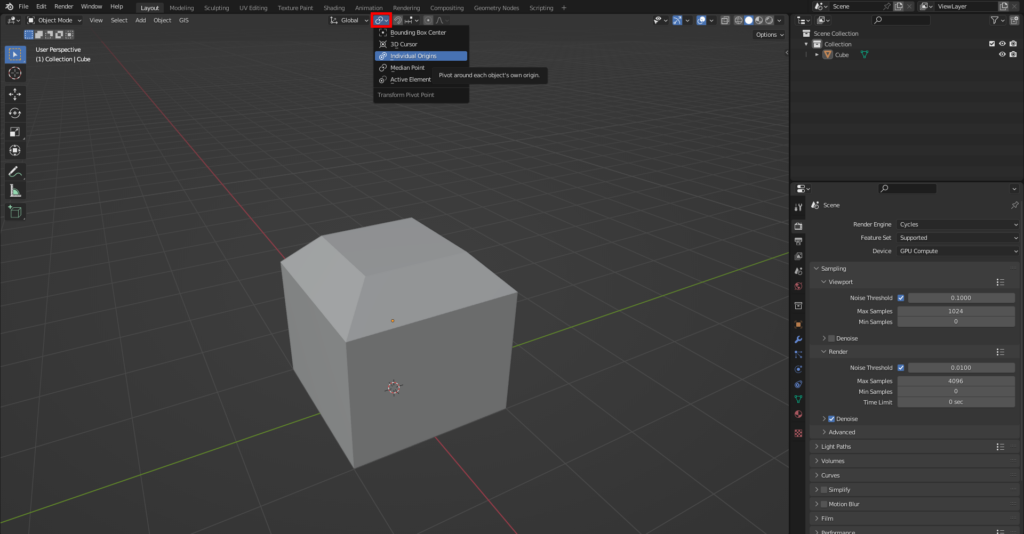
Final and Nondestructive way
Nondestructive meaning that the bevel doesn’t fundamentally change the mesh. This also means that you have to check the apply modifiers button when exporting mesh.
Go to modifier properties (blue wrench icon) and click add modifier then click bevel.
Leave segments to 1 and adjust the amount to your liking. If it doesn’t work right away then go to geometry tab under bevel and turn off clamp overlap and correct the amount.
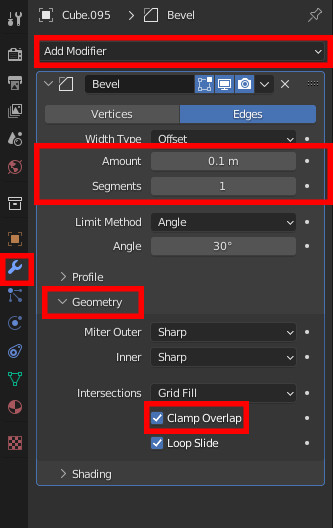
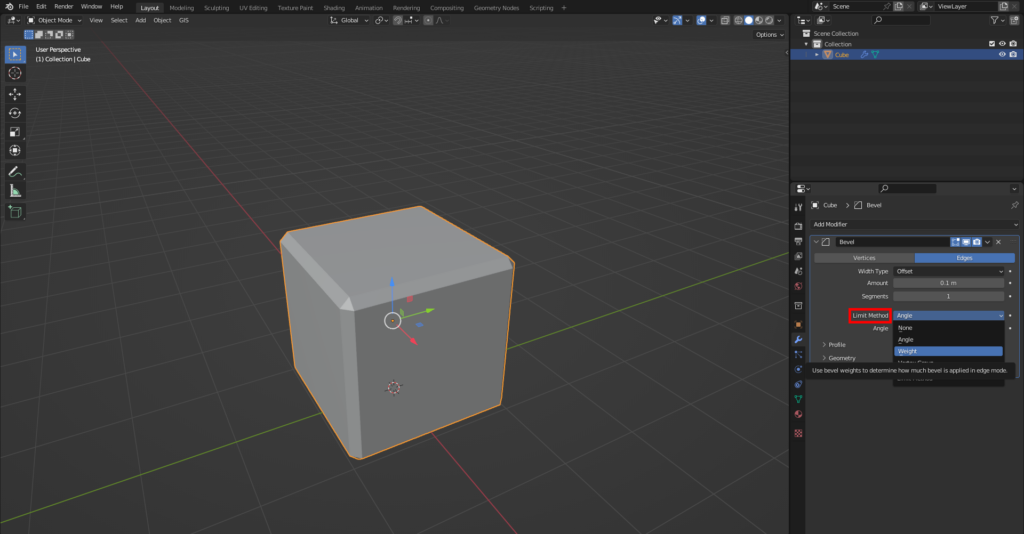
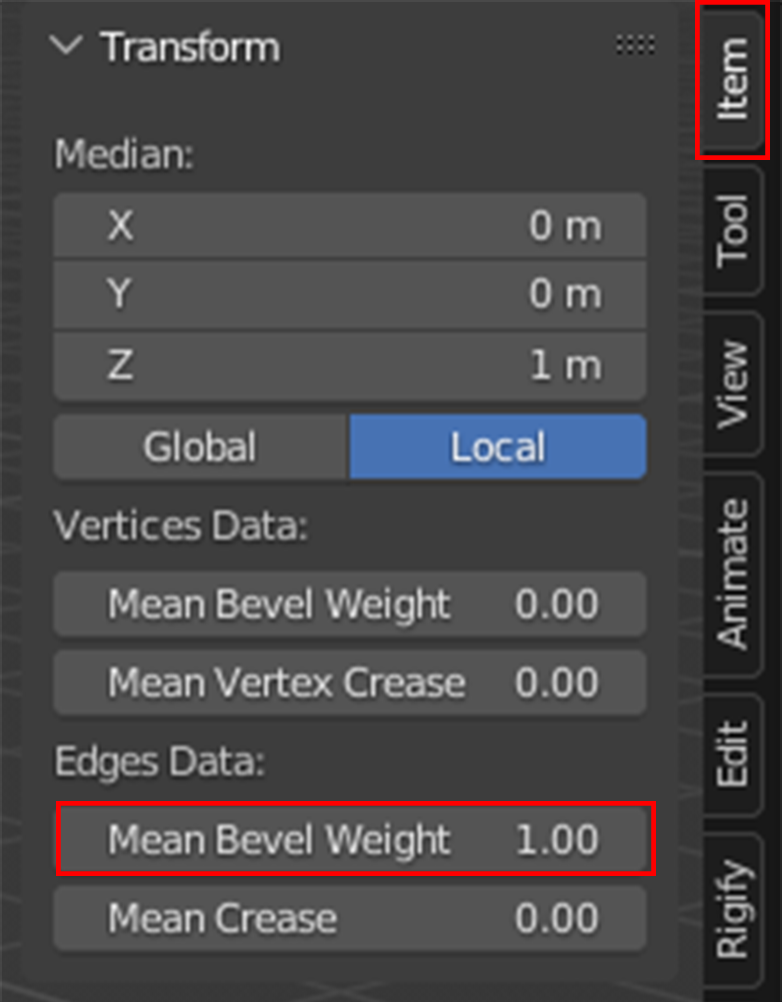
To add bevel only to those edges that you want, change limit method to weight. Go to edit mode, select the edges you want to bevel then open right sidebar (press N key) under tab “item” change the mean bevel weight to 1.
Before Adding The Bevel Modifier it’s a Good Practice to do and Check The Following
1. Mesh needs to be clean and use only quads.
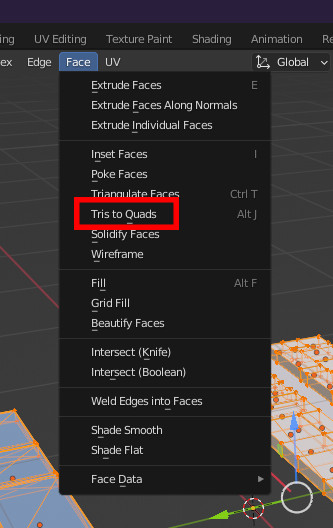
- Removing tris– select everything– go to edit mode– make sure everything is selected– then use ALT + J or on the top bar go to Face– “Tris to Quads”.
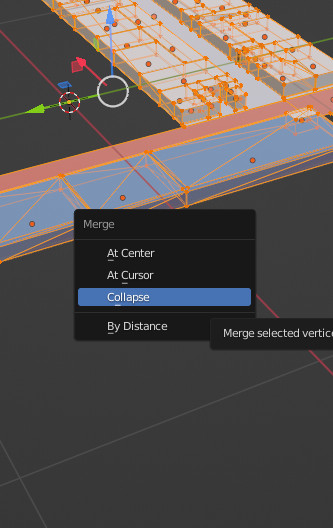
- If there are still some tris then have to manually merge them. Select the vertices and press M– “Collapse”. Second option is to just remake the whole box.
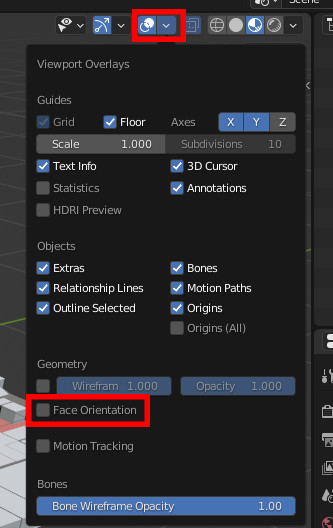
2. Make sure that normals are correct. Check this by going to “Show Overlays” and enabling “Face Orientation”. If Everything is blue then move on to step 3.
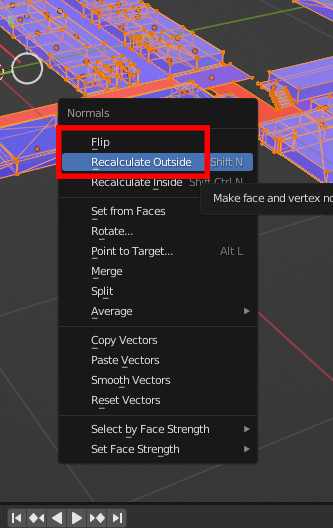
- Fixing normals– select everything– go to edit mode– make sure everything is selected– use ALT + N– “Recalculate Outside”.
- If some are still red then you have to manually select the red ones and use “Flip”. (ALT + N)
3. Make sure there are no Doubles.
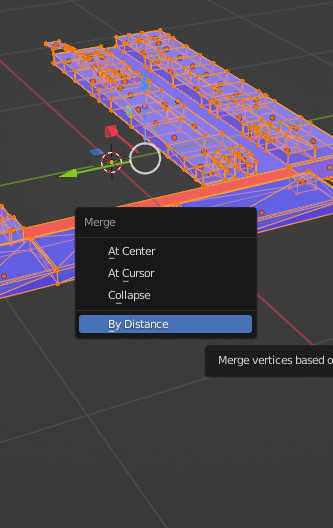
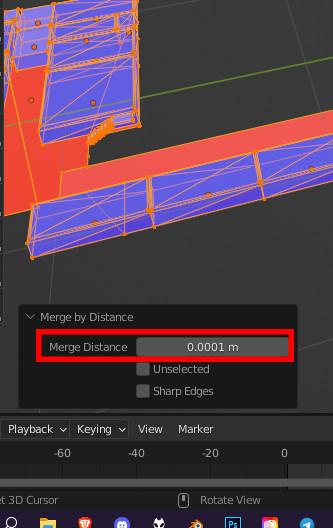
- Select everything– go to edit mode– make sure everything is selected– press M then click “By Distance”– open the little box on the left corner of the screen– set merge value to 0.00001 m
4. Make sure Object scale is set to 1 on XYZ.
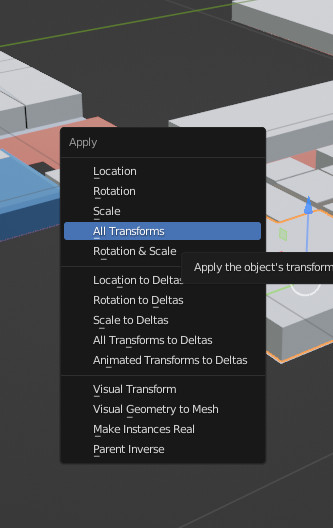
- Select 1 object– use shortcut CTRL + A– click on “All Transforms”. Do the same for every object.
