Integrating Face Recognition Technology With 3D Wayfinder

February 4, 2019

3D Wayfinder has been lately testing face recognition technology and what are the possibilities to integrate it with wayfinding software. This is a concept that connects biometric data to certain locations and makes wayfinding personal and unique.

When creating 3D Wayfinder, we have followed the principles that each customer would like to customize their application and integrate it with other applications. Also including Digital Signage software. 3D Wayfinders open modular architecture makes implementing new features easy and supports 3rd party software. Read more about integrations.

Wayfinding solution usually incluse information like bus time schedules, weather forecast or local news. But the possibilities are endless. We believe that integrating face recognition technology in the your wayfinding solution might be one of the things you want to consider when you know who’s gonna use Wayfinding and what for.

One of the best places to have that technology is at conferences or seminars. When client registres to the event online they should a have a option to upload the picture of their face , using webcam or phone, which will be later used on the wayfinding software and accredidation.
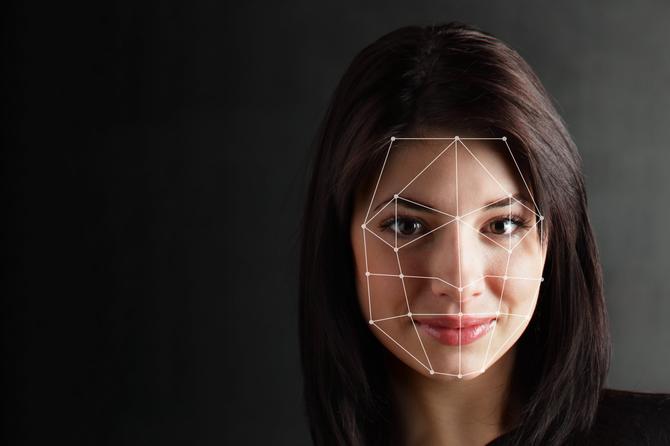
3D Wayfinder software with face recognition and biometric data.

When a person arrives to the event they have possibility to quickly check in using the same wayfinding totem. After check in it is possible to show the person their daily schedule and direct them to the right locations. That would save the guest time with not looking around or trying to figure out what was the next thing they needed to attend.

Using face recognition feature is not only for conferences or seminars. Contact us and we find right solutions together.

Contact us to make your wayfinding concept become real and for integrating face recognition technology with 3D Wayfinder.

« »

Wayfinder With Digital Signage Software

November 2, 2017

We have tested 3D Wayfinder integration with Digitalsignage.com software. Integrating wayfinding with digital signage media management gives additional purpose for advertising screens.

DigitalSignage.com is created by MediaSignage Inc. It is free digital signage software. Including signage player and media content management. Their software is used in over 200 countries. Since the first release, the software has been installed on hundreds of thousands of PCs.

DigitalSignage.com software is web-based. So it is really easy to use 3D Wayfinder as a part of the media player screen layout. Let’s say, that there are top and bottom advertisement banners on the portrait screen and wayfinding application is set-up on the middle of screen.

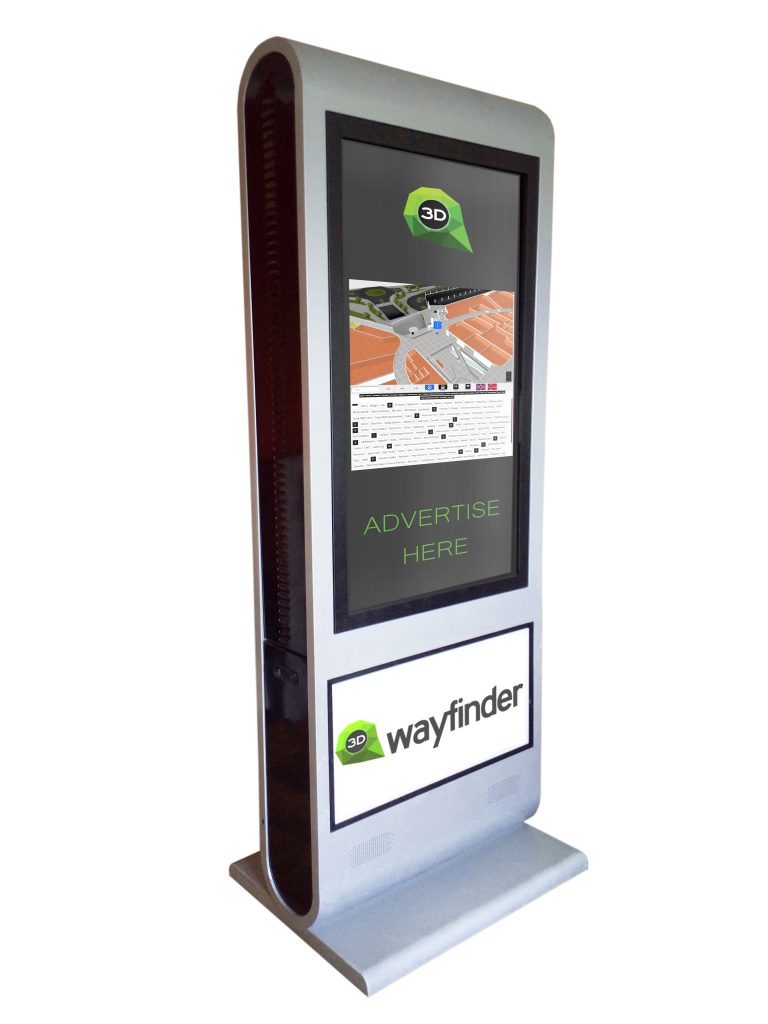
Wayfinder kiosk

Screensaver mode

More advanced integration is switching advertisements with wayfinding application. This is something, we call “screensaver mode” when creating layouts for 3D Wayfinder. With Digital Signage software the simple way is to switch between wayfinding and advertising screen. Digital signage itself lets you create switching timelines, channels and content. We do not go into that much. Because there are plenty of examples in their documentation.

More sophisticated way to change between 2D map and screensaver can accomplish with event and triggers. Under Digitalsignage.com documentation http://docs.digitalsignage.com/ look for remote values. It describes what should be include in your app to be able to send event to their server.

Two functions that are important in 3D Wayfinder events case are ‘onSessionStart’ and ‘onSessionEnd’. They both are used by our statistics module. But if you do not have any need for statistics then you could overwrite these functions.

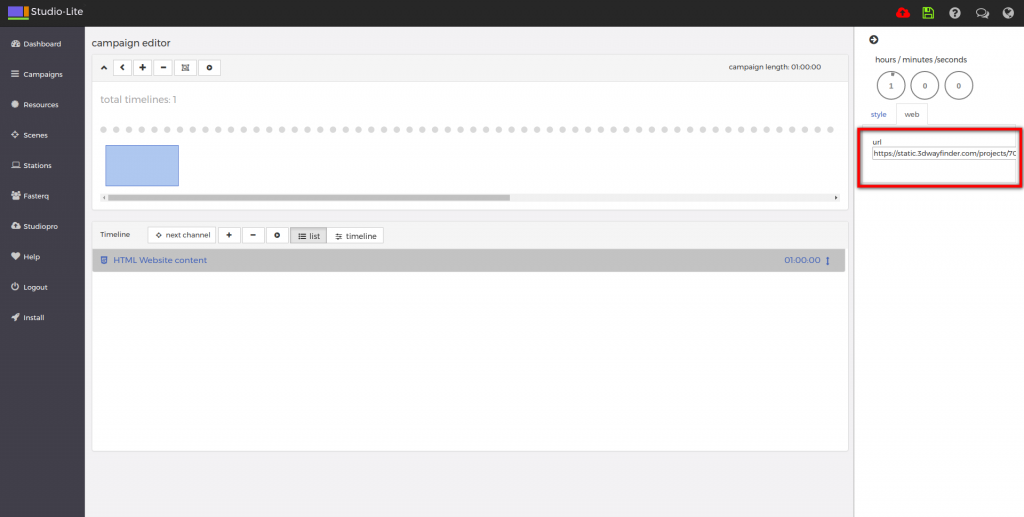
With signage free version you can use our 2D map with ease. Just include HTML component into your campaign and add link to your project.

digital signage

From documentation we could find out that signage players HTML component does not support webgl. But according to docs we should be able to get out 3D maps working with Browser component and signage player should be working on windows machine. Browser component is available for enterprise users.

« »

Wayfinding Kiosk with Raspberry Pi

July 11, 2017

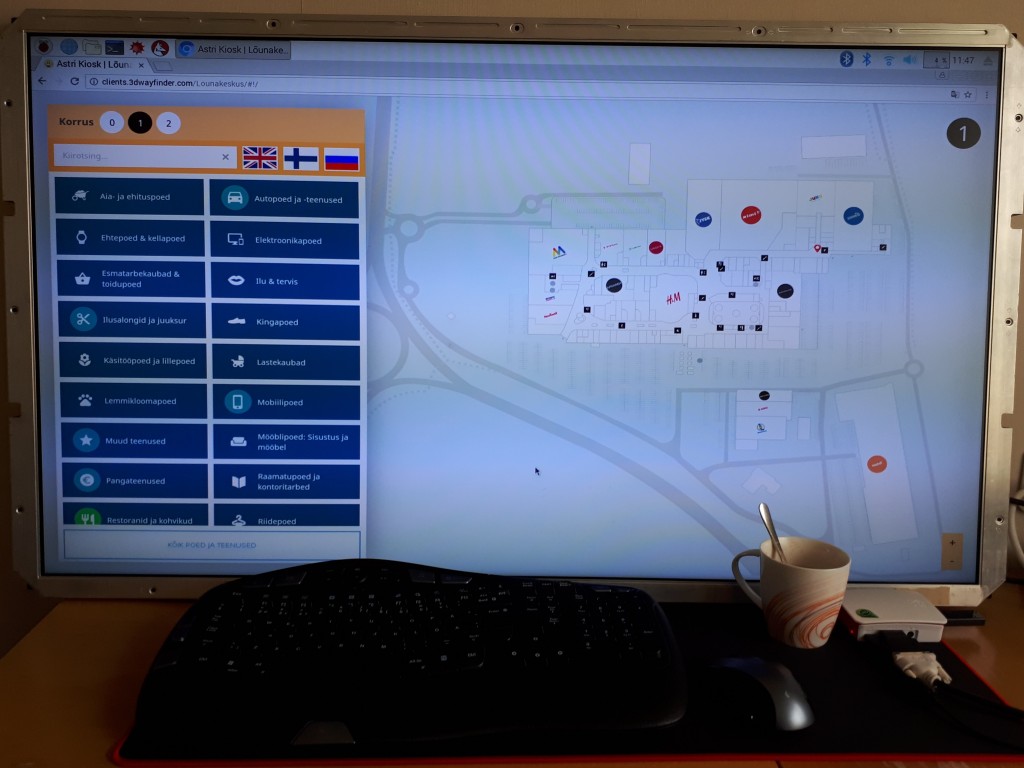
We have recently experimented with a Raspberry Pi 3 Model B, to see how it can work as media player for digital signage display or wayfinding information kiosk. As a result we can say, it works well with 2D wayfinding maps and with 3D Wayfinder Advertisement Module.

What is Raspberry Pi?

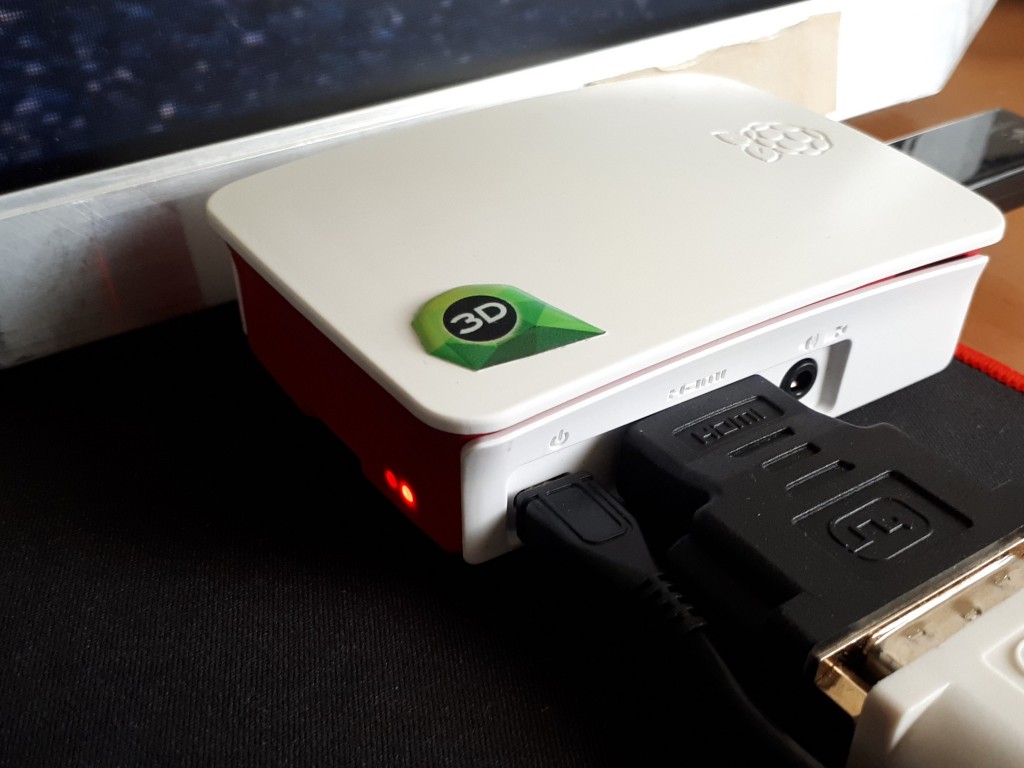
Raspberry Pi is a small credit card sized linux based open source computer. It is equipped with:
– Broadcom 64-bit quad core CPU clocked @ 1.2 GHz,
– 1GB of RAM,
– built-in WLAN and BLE modules,
– HDMI output.

But everything is soldered to the board hence there is no option to upgrade, except for the microSD card. You can also have a nice box for it, so it doesn’t look like a hackers development board.

Raspberry Pi

Compared to other small form factor computers like Intel NUC or Gigabyte BRIX, it is much cheaper. Raspberry Pi with a nice case and microSD card would cost about 50..70 USD. The NUC or BRIX boxes start at 110..130 USD new, and you still need to equip them with a hard drive (SSD/HDD) and memory module(s) (DDR3/DDR4 SO-DIMM RAM) which would cost you about an extra 30 USD for a 32GB SSD and ~25 USD for DDR3 or ~30 USD for DDR4. Totalling up to about 165..190 USD.

Raspberry PI plays in Full HD, so it is not a problem to use large resolution screens.

Wayfinding with Raspberry Pi

Enable WebGL

For 3D the Raspberry is still a bit weak and by default it doesn’t have WebGL enabled. To enable WebGL you have to:
1. Open up the terminal application (or command prompt if you prefer to call it that)
2. run command sudo raspi-config
3. navigate to Advanced Options
4. enable GL support.

The GPU on the Raspberry PI 3 Model B doesn’t support floating point textures, so we cannot use transparent textures.

To build wayfinding or digital signage project based on Raspberry Pi you need to use a special linux distribution that opens a browser in full-screen mode instead of the regular desktop interface.

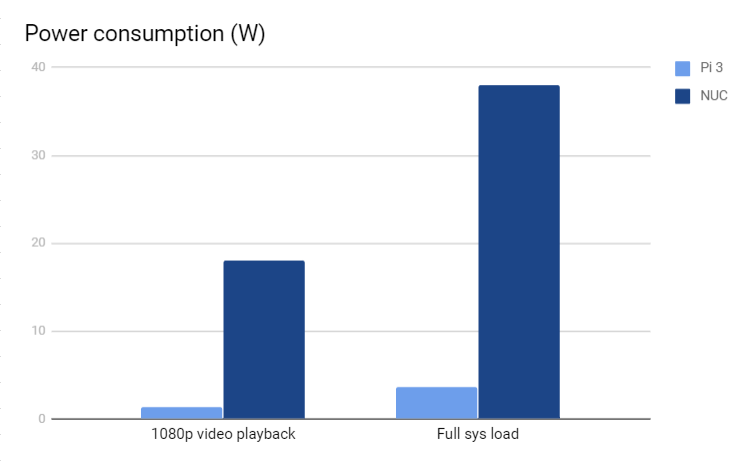
At the same time the kiosk based on Raspberry Pi is quite bullet-proof. There’s no need to worry about excessive power consumption as it actually only consumes about 3.7W under full load and only about 1.4W when playing a FullHD video, which is roughly 10% of the Intel NUCs ~38W while under full system load and ~18W while watching a FullHD video.

chart

It boots up fast from a microSD card which can be easily replaced when it wears out or breaks.

Although remote managing a kiosk that uses a Raspberry Pi can prove to be quite a cumbersome task as you cannot use regular GUI remote management tools like Teamviewer or LogMeIn. The fastest way to remote manage the Raspberry Pi is to use SSH, which is a CLI (Command Line Interface) and this might scare-off most of the users that are not used to poking around via a CLI.

« »