With the end of 2015 and the beginning of this year there are many new features added to 3D Wayfinder. The goal of these changes was to add flexibility to customizing the behavior of the 3D map and wayfinding. Custom models for path, path types, POI options and many more.
In parallel with large customer projects, we have added many new features to 3D Wayfinder. Most of them were requested by our customers and we have added them as features/settings for all our users. Below are listed the most important ones.
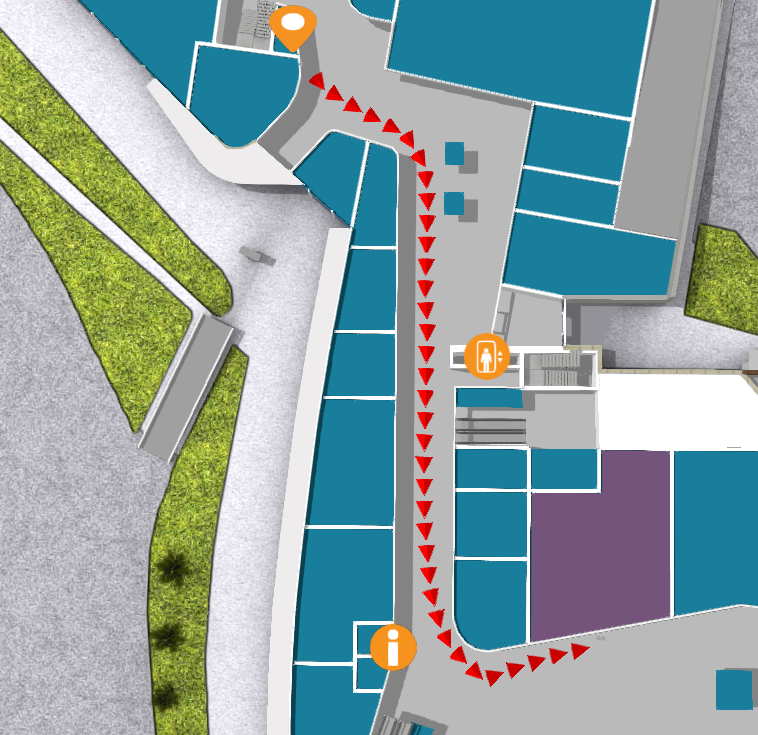
Custom models for path visualization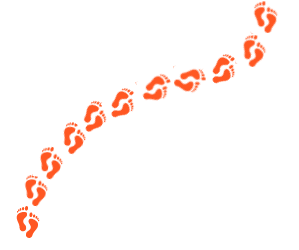
It is now possible to choose your own custom models for path visualization. Path models can be different kind of arrows, footprints or simple tubes/lines. Changing path visualization models can be done under settings.
In near future we’ll add some sample path models also to our blog.
Path types and accessibility paths
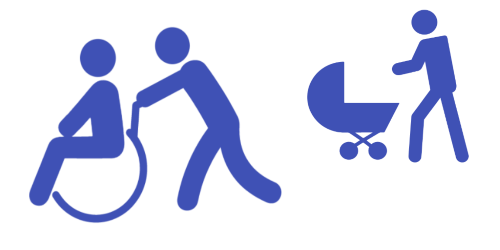
It is now possible to add different kind of inaccessibility attributes to the path . This can be used for defining paths that are also accessible with wheelchairs and/or baby strollers. This also enables defining other kinds of areas, like paths for service personnel etc.
Currently it has to be entered to the node attributes in json object format:
{
“inaccessibility”: [
“wheelchair”
]
}
The nodes with these kind of restrictions cannot be used for path finding with “wheelchair” option. It is useful to set these restrictions for stairs or doors.
To use the inaccessibility in user interface, you have to change the accessibility option first:
this.wayfinder.accessibility = “wheelchair”;
Then it is possible to use the same show path method:
this.wayfinder.showPath(poi.node, poi);
And after showing path, just change the accessibility option back to blank:
this.wayfinder.accessibility = “”;
Also check out our blog post about how to set up time dependent navigation rules.
POI specific options
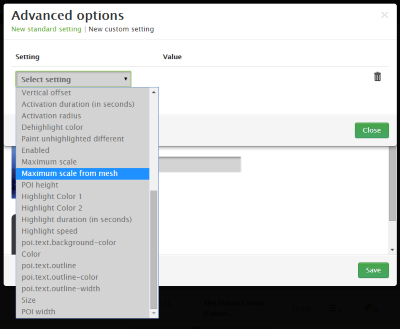
It is now possible to create special settings for each POI (location). These settings can be chosen from the list of all POI settings, like the size of the billboard image or billboard text size, highlight color, activation radius, billboard height etc.
This feature allows to customize the map by locations, for examples larger shops can have larger texts or text colors can be set by each shop. Also it makes easier to use logos or icons on the map, as the billboard images don’t have to be the same size anymore.
In the future it is possible to add new settings that can be used when developing your own template.
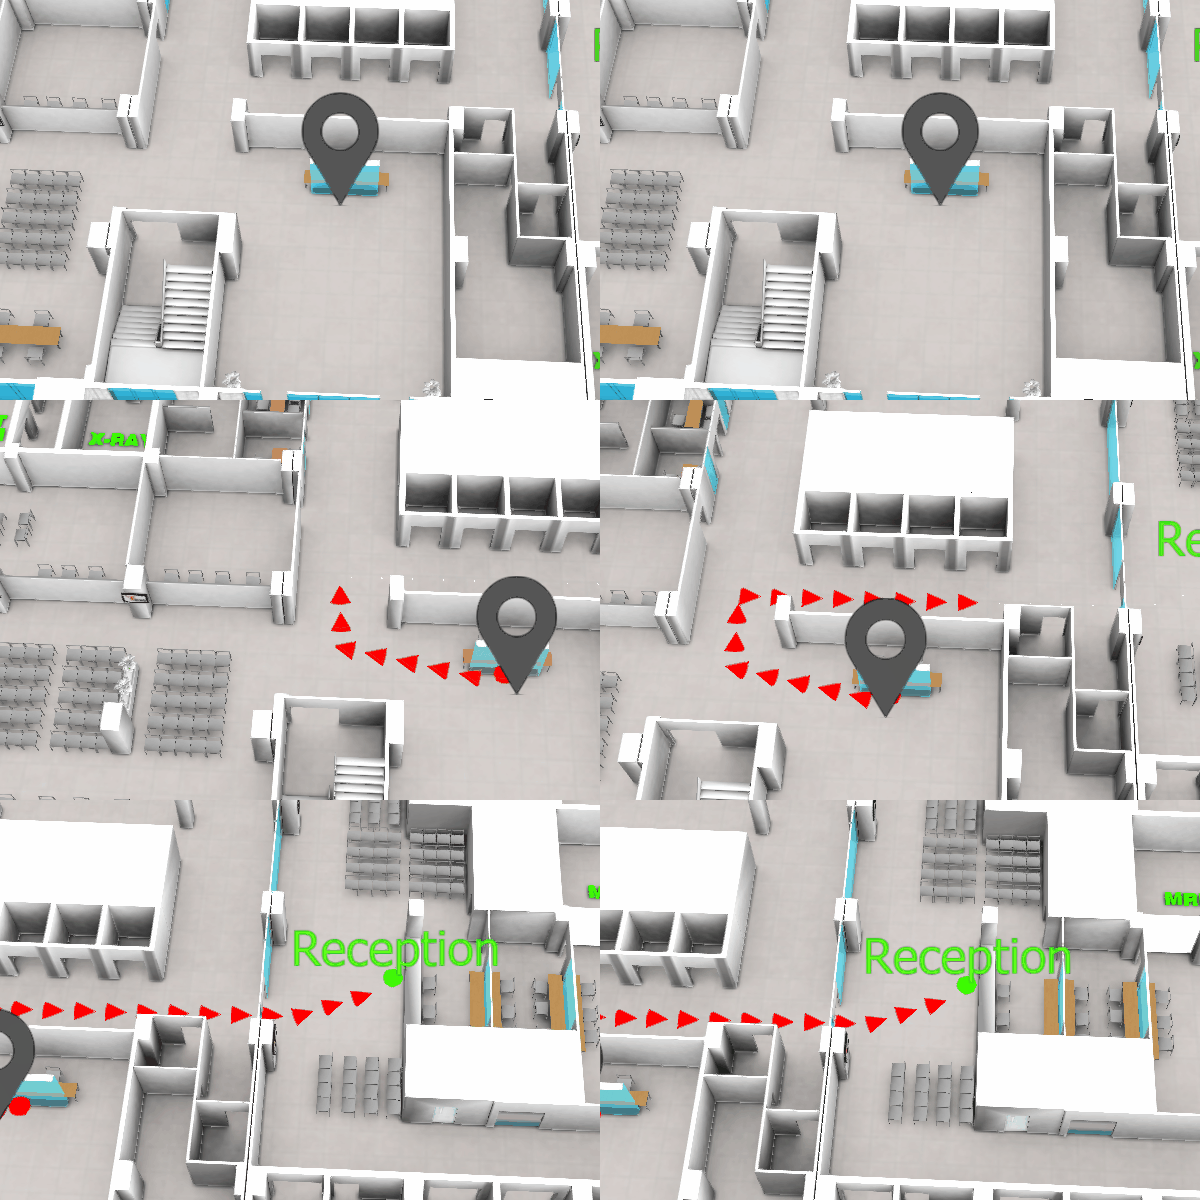
Top-down view for Path showing
Now there is a simple option under settings to turn the map to top-down view when showing the path.
In general it is not a good idea to show the “You are here” location from top-down view, but rather from certain angle (especially when it is possible with real 3D models as in 3D Wayfinder), which provides a better overview of the map and also makes the map look better.
Now when using the same angle, as displaying the “You are here” location, and visualizing the path, it may happen that the visualized path might not be visible. This is due to tall objects like walls that might block the view of the path. Using the top-down view during path visualization solves this problem.
Pause options between changing floors
According to valuable customer feedback, the transition of switching floors happens too quickly , which might be a bit confusing for the end-users. We solved this issue by adding the “pause-time” option to the settings. With this option it is possible to adjust the duration of the pause before switching to the next floor. The pause duration can be defined in seconds, which makes it easiest to find the proper delay that helps all wayfinder users to understand, which floor they have to go to.
Kiosk view enhancements
In addition to being able to save the view angle, it is now possible to save the zoom factor for “kiosk view”. By clicking the “You are here” button, the map assumes the “kiosk view” saved in the editor.
In the future we will add this view option as a separate object so the view can be linked with any location or node.


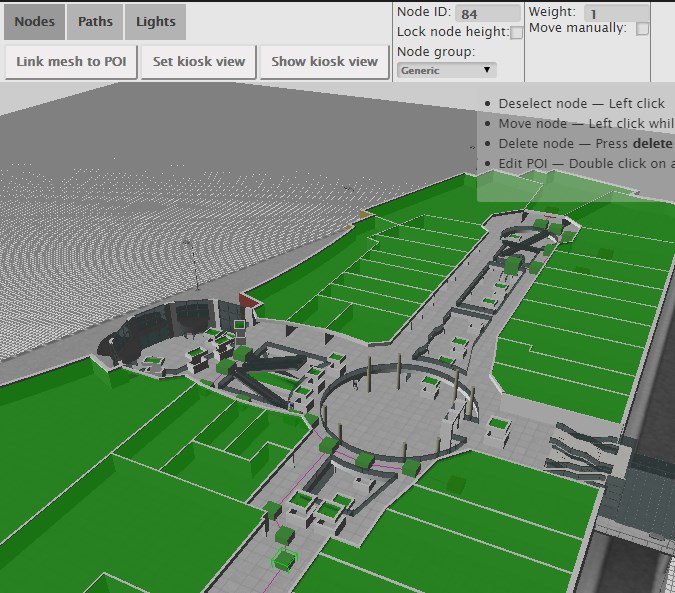 To use the weights you have to select the navigation node in