Your Indoor Wayfinding Solution Is Part Of Your Brand

July 9, 2026

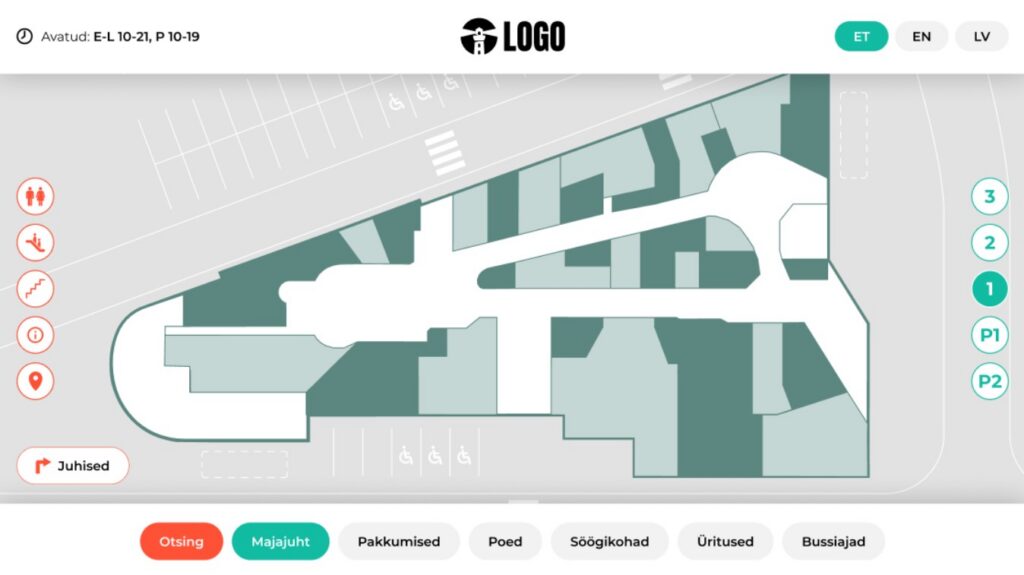
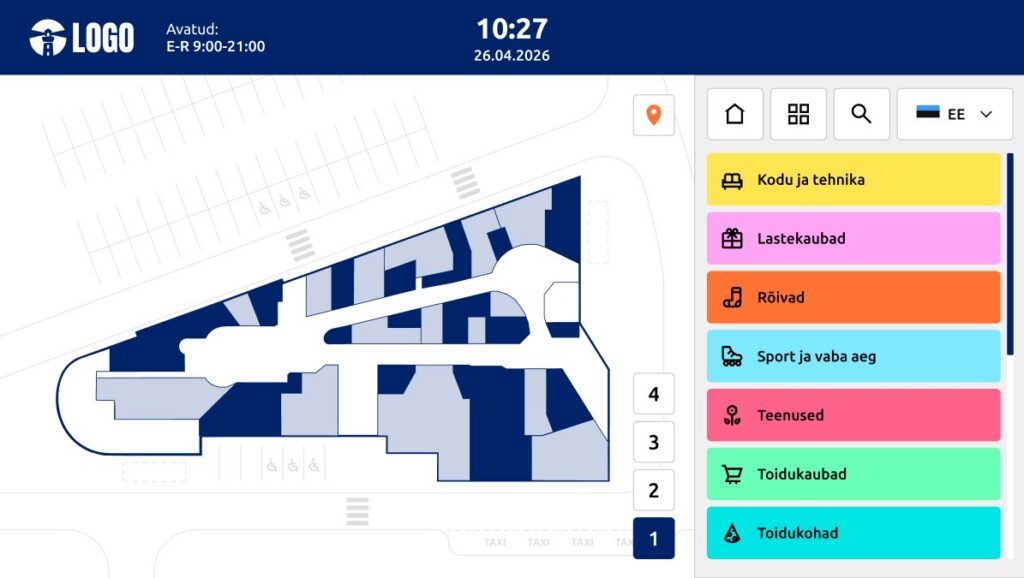
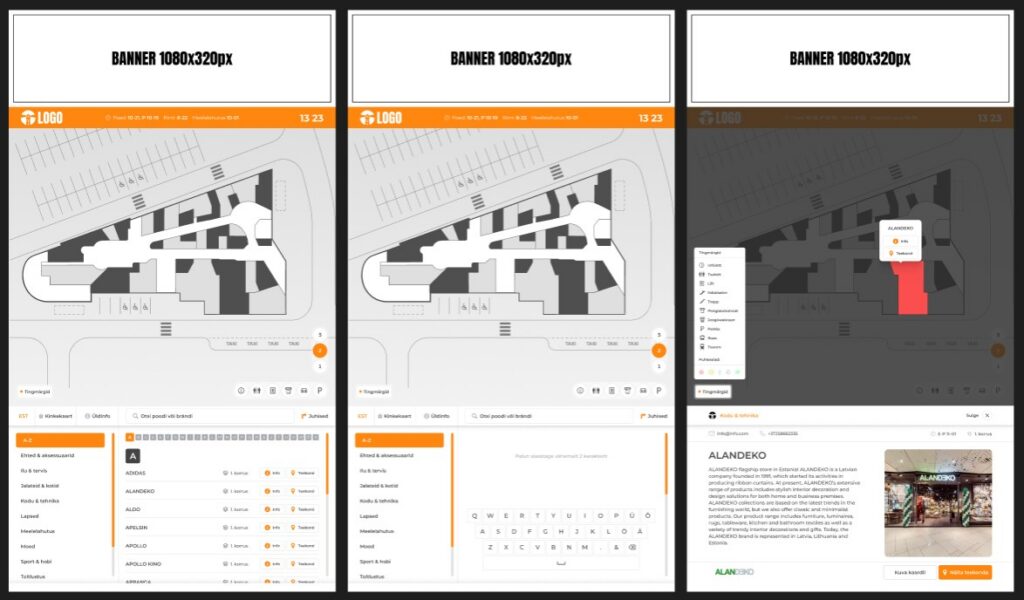
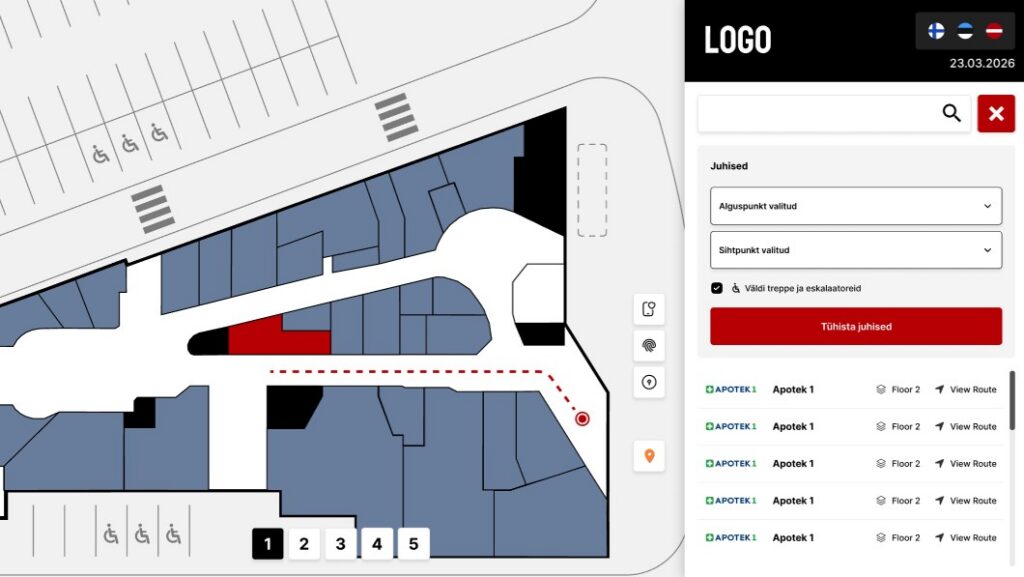
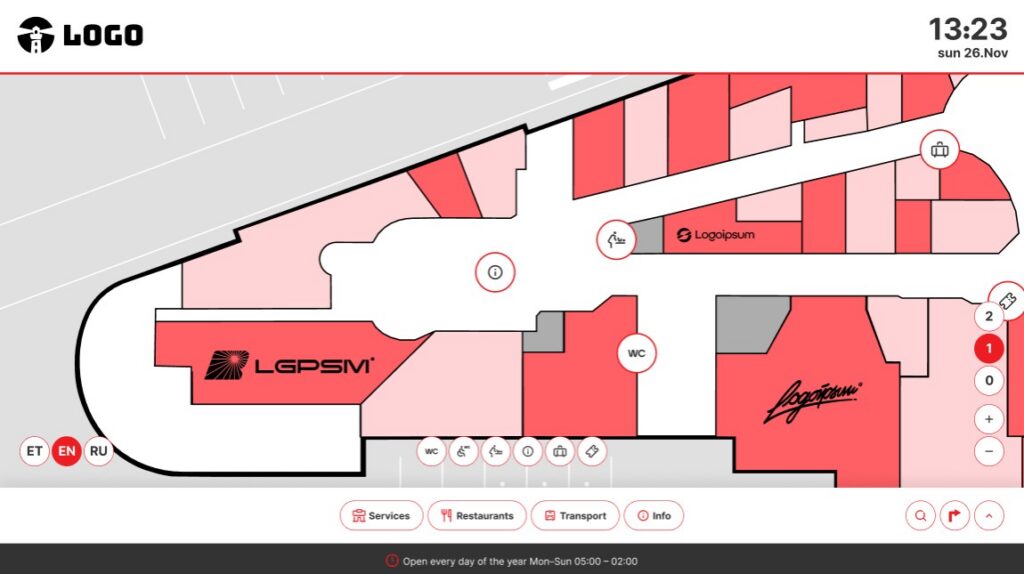
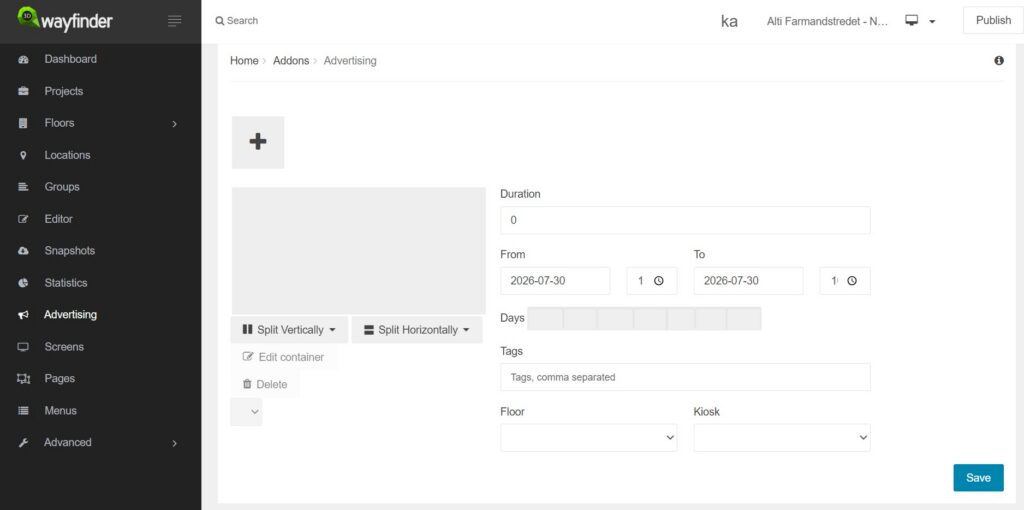
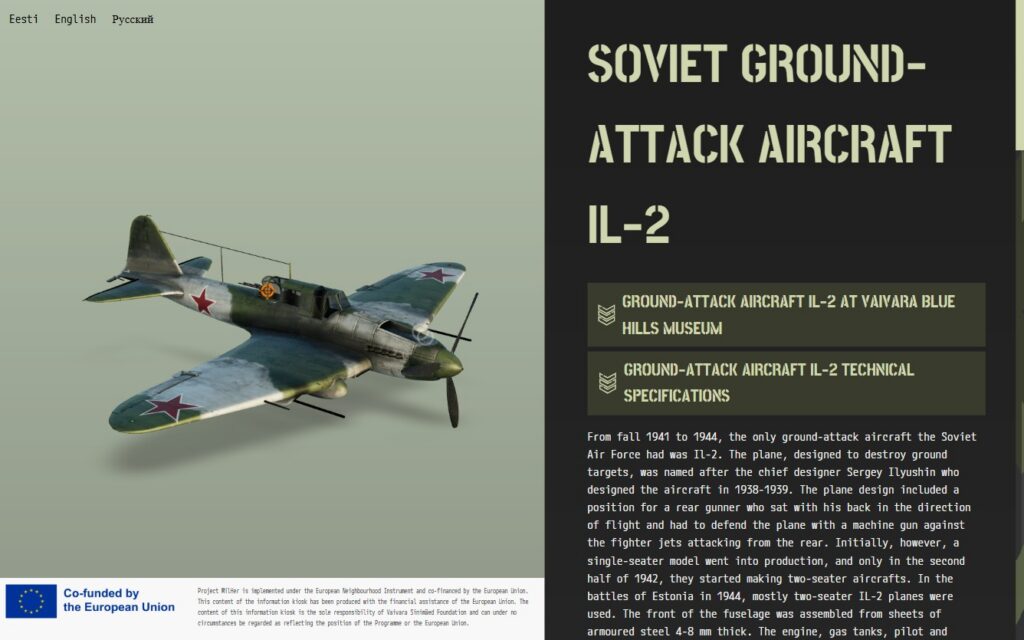
Most companies invest heavily in their website design, lobby, and visual identity. However, many still leave their indoor wayfinding solution out of that investment. That creates a problem because visitors often interact with wayfinding early in their journey. They may use it online before arrival, or they may use a kiosk as soon as they enter the building. Because of that, your wayfinding experience should support your brand as clearly as your website does. Teams often spend months refining a homepage, choosing fonts, and selecting the right color palette. Meanwhile, they build the lobby kiosk or website map once and then forget about it. As a result, the wayfinding experience starts to feel disconnected from the rest of the brand.

When First Impressions Meet Reality

Your website usually creates the first impression of your brand. Your building’s indoor wayfinding solution often creates the second. If these two experiences do not match, visitors notice. They may not always think about it consciously, but they still feel the difference.

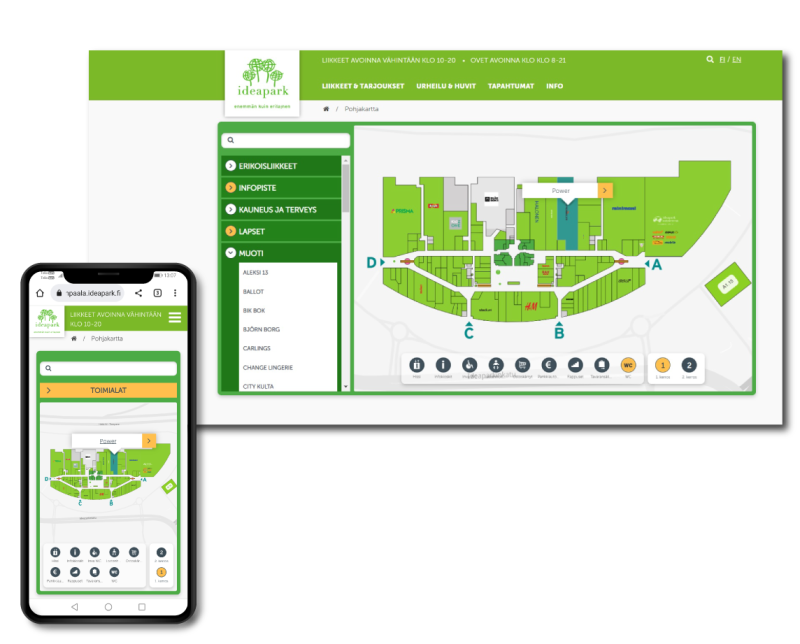
For example, a modern website can lose impact when the visitor then sees an outdated kiosk. The same problem appears when a website includes an old map module that looks frozen in time. One moment, the visitor scrolls through a clean and well-designed website. A moment later, they struggle with a pixelated floor plan or a slow touchscreen. That contrast feels inconsistent. It also weakens the credibility that the rest of the brand has worked hard to build. The opposite can also happen. A stylish kiosk or advanced web tool cannot fix a weak brand experience elsewhere. Therefore, consistency must work in both directions.

Why Good Wayfinding Matters In Busy Buildings

This matters even more in high-traffic locations. Airports, hospitals, universities, shopping centers, and corporate campuses all depend on clear navigation. Visitors in these places often feel rushed, stressed, or unfamiliar with the building. Some plan their route from home. Others stand inside the building and need help immediately.

A traveler may need to find a gate in fifteen minutes. A family may need to find the emergency room in a hospital. In those moments, nobody wants to deal with a confusing interface. A poorly designed indoor wayfinding solution adds stress. It turns a simple task into a frustrating experience. In some cases, it can even shape how people remember the whole visit.

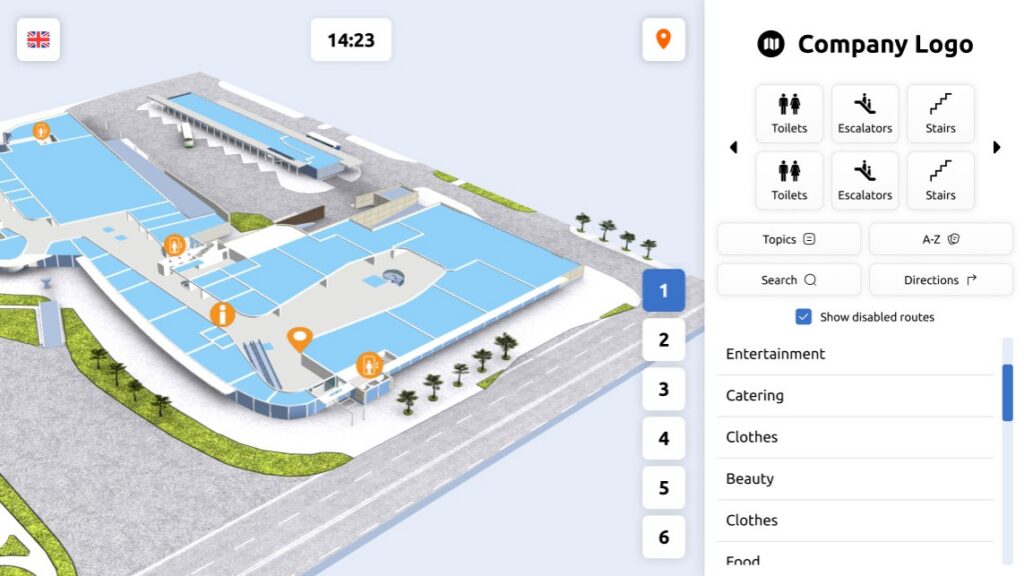
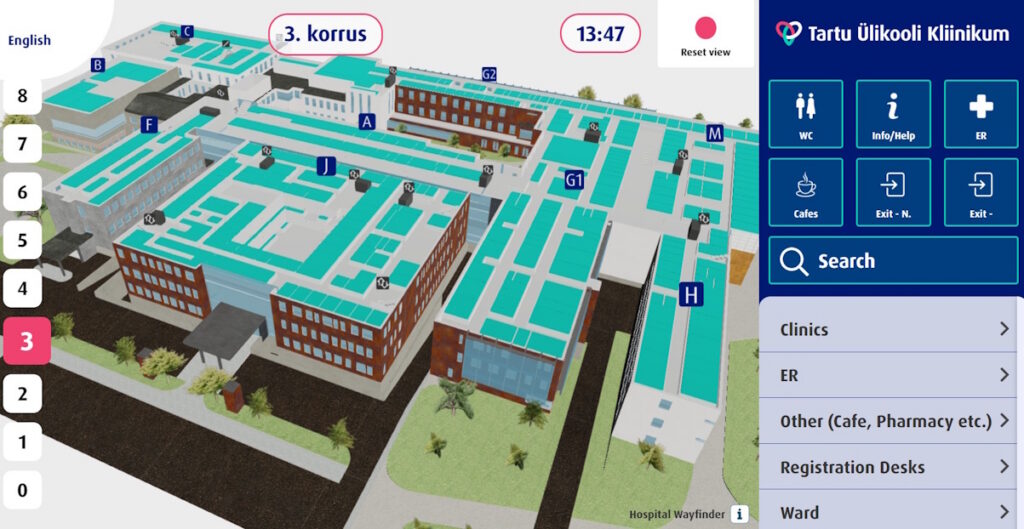
In contrast, a clean and intuitive system helps visitors feel calm and confident. It gives them control, whether they use it on a kiosk, on a phone, or on a website. A clear 3D map with accurate routing can turn stressful minutes into a smooth visit. That is exactly what good wayfinding should do.

What A Consistent Indoor Wayfinding Solution Looks Like

This is where 3D Wayfinder adds real value. We design our indoor wayfinding solution to work as a natural extension of your brand. It should not feel like a separate tool added later.

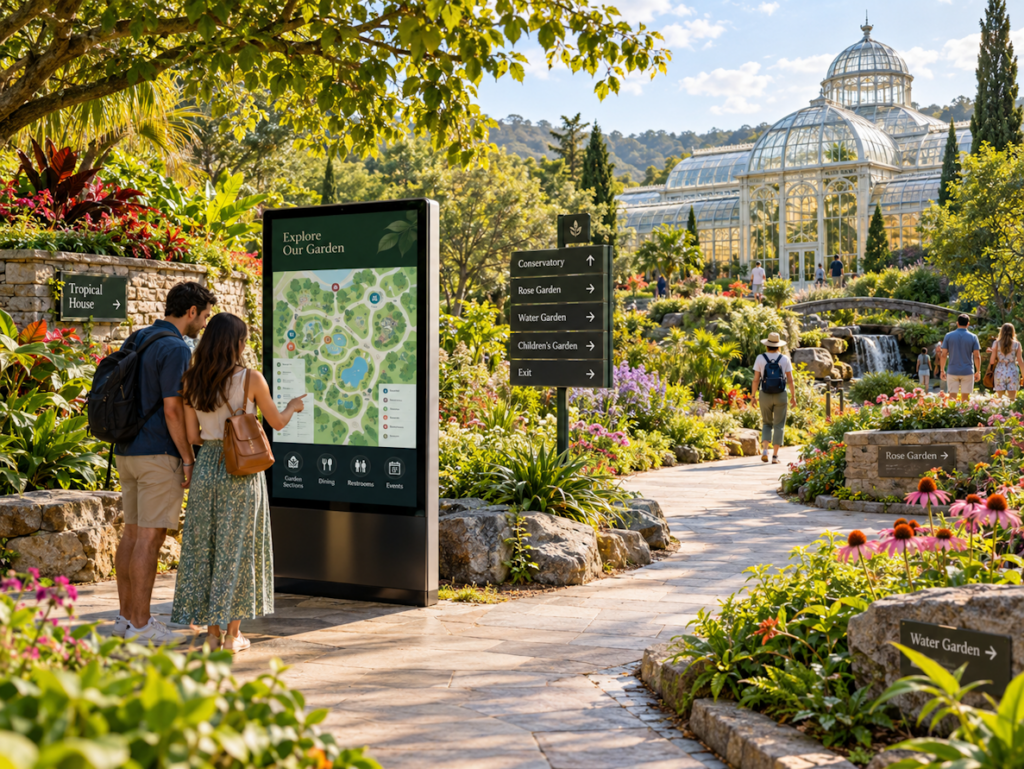
You can use 3D Wayfinder on a lobby kiosk, as a website module, or inside your own app. In every case, the experience stays visually consistent. That consistency comes from details that visitors may not consciously notice, but they will definitely feel.

Key elements include:

  • Color palettes and typography that match your website.
  • Smooth 3D maps that show buildings as they actually look.
  • Clean interfaces across kiosks, mobile devices, and websites.
  • A unified experience for every visitor touchpoint.

Together, these elements create a more professional and reliable brand experience.

One System Keeps Every Channel Updated

A consistent wayfinding experience also makes updates easier. Every access point can use the same underlying 3D Wayfinder project. That means you update the project once, and the change appears everywhere.

For example, a hospital may add a new wing. After the update, visitors see the new area on the kiosk, website, and app at the same time. This helps organizations avoid outdated maps. It also gives visitors the same reliable information on every channel.

Digital Experiences Shape Guest Satisfaction

Today, buildings create impressions through both physical and digital experiences. Visitors often form an opinion before they arrive. They continue building that opinion throughout the whole visit.

That is why a well-designed indoor wayfinding solution does more than guide people through a building. It helps venues create a sense of welcome, trust, and professionalism. It shows visitors that the organization values their time and comfort. As a result, better navigation supports better guest satisfaction.

The Takeaway

If your website reflects a high design standard, your indoor wayfinding solution should reflect the same standard. This applies both on-site and online.

A strong wayfinding experience helps visitors move with confidence. It also supports your brand, improves the first impression, and creates a smoother journey from the first click to the final destination. Contact our Sales Team!

«

How 3D Wayfinder Helps Explore Caves and Natural Attractions

July 3, 2026

Natural attractions offer powerful experiences for visitors. Caves, canyons, mines, and protected areas always create curiosity. However, visitors cannot physically enter every location. Some places involve collapse risks. In addition, other sites protect rare animals, plants, or geological formations. Narrow passages can also make movement difficult for many visitors. 3D Wayfinder helps open these places in a new way. A realistic 3D model creates a safe and engaging digital experience. Visitors can see the location as if they were standing inside it. At the same time, they can explore hidden spaces without disturbing the natural environment.

Piusa Caves Show the Potential of 3D Technology

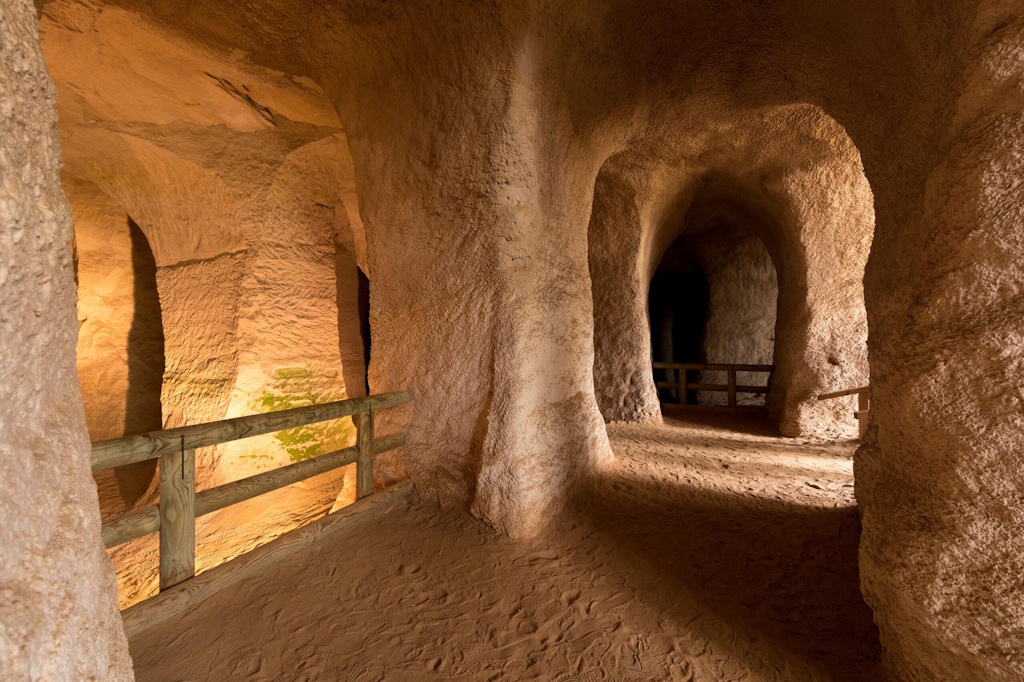
The 3D Wayfinder team created a highly realistic 3D model of the Piusa Caves in Estonia. The Piusa Caves are among Estonia’s most unique natural attractions. The caves formed during glass sand mining. Today, they create a large and fascinating underground tunnel network.

Piusa Caves Show the Potential of 3D Technology

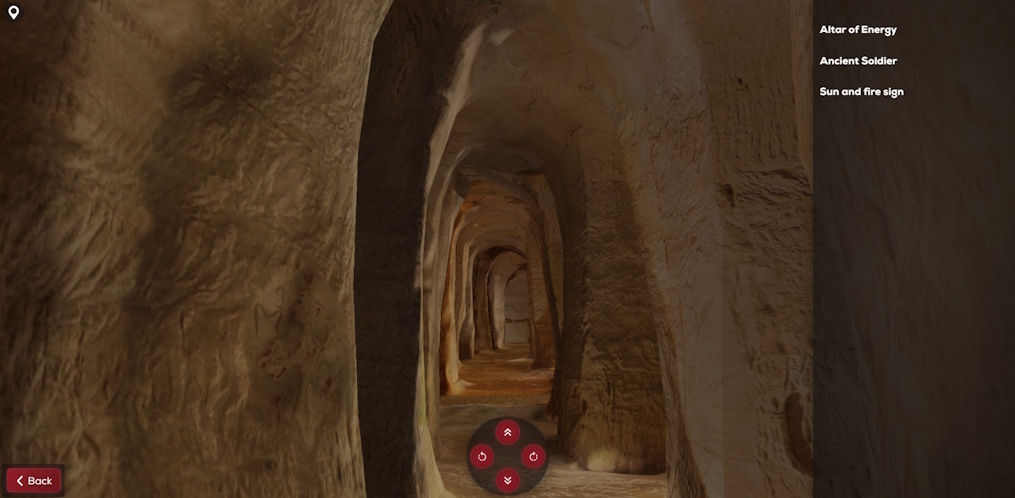
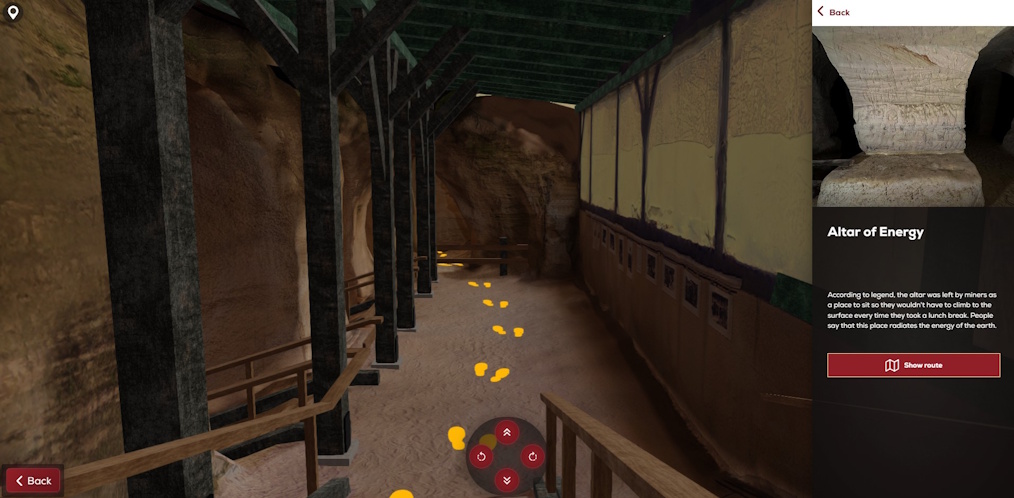
The Piusa Caves also have important conservation value. Bats use the caves for hibernation, and nature needs protection. Therefore, visitors cannot freely enter the caves. The 3D model still gives people a way to explore them. Visitors can move through the digital environment and understand the real scale of the cave system. Moreover, they can see tunnels, sandstone pillars, vaulted ceilings, and natural details. The Piusa project shows how 3D Wayfinder in caves can present complex underground spaces. This kind of solution does not replace nature. Instead, it helps people understand and protect it better.

A Virtual Journey Creates More Value

Tourists increasingly look for meaningful visitor experiences. They want to see, learn, and explore by themselves. A simple information board does not always create enough understanding. A photo only shows one view. A video controls the pace and direction.

An interactive 3D model gives visitors control. They choose where to move and what to explore more closely. They can compare spaces, understand distances, and see the area as a complete environment. This makes the visit more personal and memorable.

3D Wayfinder Fits Many Natural Attractions

The Piusa Caves are a strong example, but the opportunity is much wider. The same solution can support caves, old mines, and mountain passages. Furthermore, it can also support canyons, hiking trails, national parks, and historical ruins. Many natural attractions around the world need better visitor guidance and richer explanations. 3D Wayfinder can show routes, restricted areas, and recommended paths. It can also display accessible routes and important points of interest. Visitor centres can add text, images, videos, and audio guides to the model. This turns a digital map into a valuable part of the whole visitor experience. It helps people understand the site before, during, and after their visit.

Virtual journey at caves

Closed Areas Become Visible

Many fascinating natural sites remain closed to visitors. The reason does not always come from a lack of interest. Often, the site simply needs protection. A virtual 3D experience creates a good balance.

Visitors still receive a strong experience, while nature remains untouched. This works especially well in places where heavy visitor traffic causes damage. Visitor centres can show hidden areas without increasing physical pressure on the site. They can also offer more value outside the main tourist season.

Education Becomes More Visual

A 3D model helps visitors learn faster and more naturally. Children understand space better when they can explore it themselves. Adults can connect information with the visible environment. Guides can use the model before or after a tour. A guide can show places where the group cannot physically go. They can explain geology, history, and nature conservation in a visual way. This makes the visit more informative and easier to remember.

Education Becomes More Visual

A Better Experience Before and After the Visit

3D Wayfinder does not need to work only inside a visitor centre. The same 3D model can work on websites, kiosks, and mobile devices. Before the visit, tourists can explore the place before they travel. They can plan their visit and understand what to expect.

Afterwards, they can return to the model again. This extends the impact of the experience and supports destination marketing. A shareable digital experience can also help the location reach new visitors.

Technology Helps Protect Nature

A good tourism solution does more than attract more visitors. It helps manage visitor flows and reduce pressure on sensitive areas. Also, it gives people better information before they make decisions. And it also helps visitor centres present places that people cannot safely enter.

3D Wayfinder can help natural attractions offer safe, modern, and memorable experiences. The Piusa Caves 3D model shows this potential clearly. Ultimately, 3D Wayfinder in caves can open a completely new world when physical access is limited.

« »

Touch Screen Cleaning for Kiosks: How It Should Be Done Safely

May 21, 2026

Touch screen cleaning requires care, especially when people use self-service kiosks, information screens and public touch displays in shopping centres, offices, service areas, hospitals, hotels or other high-traffic locations. Many people touch these screens throughout the day, so they need regular cleaning. However, you should not clean a touch screen in the same way as an ordinary glass surface. The wrong cleaning product, too much liquid or direct spraying can damage the device. Moisture can enter the edges of the screen, cleaning residue can remain on the surface, and the screen may lose touch sensitivity. In more serious cases, the display or kiosk electronics may stop working properly. For this reason, every cleaning team should follow proper touch screen cleaning procedures.

Why Touch Screen Cleaning Requires Special Care

A touch screen may look like normal glass, but sensitive technology sits behind the surface. The screen may also have protective coatings, anti-glare layers or fingerprint-resistant treatments. Strong chemicals, abrasive cloths or unsuitable cleaning products can damage these layers. You should also consider the construction of the kiosk. Around the screen, there may be narrow edges, frame joints, ventilation openings, card readers, payment terminals, printers, scanners or speakers. If you use too much liquid, moisture may enter these areas and cause technical problems. Because of this, one important rule always applies: never spray cleaning liquid directly onto the screen.

The Most Important Touch Screen Cleaning Rule

Always apply the cleaning product to a cloth, not directly to the screen. When you spray liquid onto the display, it may run down the glass and collect around the edges. From there, it may enter the frame, reach the electronics or become trapped between screen layers. Use a lightly damp microfiber cloth, not a wet one. If you see drops on the screen or liquid moving toward the edges, you have used too much liquid. Follow this simple rule: the screen may become slightly damp during cleaning, but it must never stay wet.

Which Cleaning Materials Should You Use?

Use a clean, soft and lint-free microfiber cloth for touch screens. Do not use the same cloth for counters, doors, floors or other surfaces, because it may transfer dirt, grease, dust particles and chemical residue to the screen. For light dust, fingerprints and everyday marks, a dry microfiber cloth often works well. If the screen needs deeper cleaning, lightly dampen the cloth with distilled water or a cleaning product designed for electronic screens. In some cases, you may use up to 70% isopropyl alcohol, but only if the device manufacturer allows it. Pre-moistened screen cleaning wipes may also work, but they should not be too wet. Remove excess liquid before using the wipe.

What Should You Avoid?

Do not use strong or aggressive cleaning products on touch screens. Products made for windows, floors, kitchens or sanitary areas may damage the screen or leave residue behind.

Avoid:

  • glass cleaners, unless the device manufacturer specifically approves them;
  • ammonia-based cleaning products;
  • bleach;
  • acetone and solvents;
  • strong degreasers;
  • abrasive sponges or rough cloths;
  • paper towels;
  • steam cleaners;
  • pressure washing;
  • hand sanitising gel.

Do not use hand sanitising gel for screen cleaning, because it can leave a sticky or greasy layer on the surface. This residue may reduce screen clarity and interfere with touch sensitivity. Also avoid excess liquid. In many cases, touch screen problems happen not because people clean too little, but because they clean too wet or use the wrong product.

How to Clean a Touch Screen Correctly

Before cleaning, switch off the screen if possible. If the kiosk has a maintenance mode, activate it. This helps prevent accidental touches. A dark screen also makes dust and fingerprints easier to see.

First, wipe the screen gently with a dry microfiber cloth. This removes dust and many fingerprints. If the screen needs additional cleaning, lightly dampen the cloth with a suitable cleaning product. Do not spray the product directly onto the screen.

Wipe the screen gently and evenly. Do not use heavy pressure. Do not scratch dried dirt with fingernails, knives or other sharp objects. If needed, soften the dirt with a slightly damp cloth and then remove it carefully.

Pay special attention to the edges of the screen. Do not let liquid collect there. After using a damp cloth, dry the surface with a clean, dry microfiber cloth. Leave the screen dry, clear and free from residue.

After cleaning, check whether the screen responds normally to touch. If the screen reacts poorly, cleaning residue or moisture may still remain on the surface. Wipe it again with a clean and dry microfiber cloth.

Cleaning and Disinfecting Are Not the Same

Cleaning and disinfecting are two different steps. Cleaning removes dust, dirt, grease, fingerprints and visible marks. Disinfecting reduces or destroys microorganisms according to the instructions of the disinfectant product. If the screen looks dirty, clean it first and disinfect it only afterwards if needed. A disinfectant may not work properly on a dirty or greasy surface. When you disinfect a touch screen, follow the product instructions. At the same time, keep liquid away from screen edges, openings and internal components. After the required contact time, leave the surface dry and free from residue.

How Often Should You Clean Kiosks?

Base the cleaning frequency on how often people use the kiosk. A kiosk in a low-traffic office may need cleaning once a day. A kiosk in a shopping centre, service hall, restaurant or other public area may need cleaning several times a day. Clean the screen whenever you see fingerprints, grease or visible dirt. In busy public locations, include touch screen cleaning in the daily cleaning schedule. More frequent cleaning does not mean using stronger chemicals or more liquid. You will get better results when you clean the screen regularly, gently and with the correct materials.

How to Clean Other Parts of the Kiosk

In addition to the screen, you may also need to clean the kiosk body, payment terminal, card reader, printer slot, scanner, speaker area and other touch points. These surfaces may tolerate different cleaning methods than the screen, but you should still keep liquid away from openings and electronic components. You may clean the kiosk body with an approved general cleaning product if the manufacturer allows it. Near the screen, card reader, keypad, printer, scanner and speaker openings, use only a dry or very lightly damp cloth. Do not spray cleaning liquid into card slots, between keys or into any openings.

Touch Screen Cleaning Checklist for Cleaning Staff

Do this:

  • Switch off the screen if possible.
  • Use a clean, soft microfiber cloth.
  • Remove dust and fingerprints first with a dry cloth.
  • Lightly dampen the cloth with a suitable cleaning product if needed.
  • Spray the cleaning product onto the cloth, not the screen.
  • Keep the cloth damp, not wet.
  • Clean the screen gently, without heavy pressure.
  • Keep liquid away from the screen edges.
  • Dry the surface with a clean microfiber cloth.
  • Check the screen after cleaning.

Do not do this:

  • Do not spray cleaning liquid directly onto the screen.
  • Do not use glass cleaner unless the device manufacturer approves it.
  • Do not use rough cloths, sponges or paper towels.
  • Do not use bleach, ammonia, acetone or strong solvents.
  • Do not use steam cleaning or pressure washing.
  • Do not leave the screen wet.
  • Do not use the same cloth for the screen and other surfaces.
  • Do not scratch dirt away with sharp objects.

What to Do If the Screen Stops Working After Cleaning

If the screen reacts poorly after cleaning, stop cleaning immediately. Dry the screen and its edges with a clean microfiber cloth. Check the frame, screen edges and nearby openings for visible moisture. If you suspect that liquid has entered the device, stop using the kiosk. Do not switch it on and off repeatedly, because this may make the damage worse. Inform the person responsible for the device or contact the maintenance partner. Do not use additional cleaning products to try to fix the problem.

Final Thoughts on Touch Screen Cleaning

Touch screen cleaning works best when you use the right materials, minimal liquid and gentle pressure. A touch screen is not ordinary window glass, so you should not clean it with the same products used on other surfaces. The most important principles are simple: use a clean microfiber cloth, apply cleaning liquid to the cloth instead of the screen, avoid excess moisture and always leave the surface dry.

When you follow these steps, you keep the screen clean, clear and easy to use. You also reduce the risk of poor touch sensitivity, moisture damage and costly repairs.

« »

“Mall of Norway” – a new demo for shopping malls

May 11, 2026

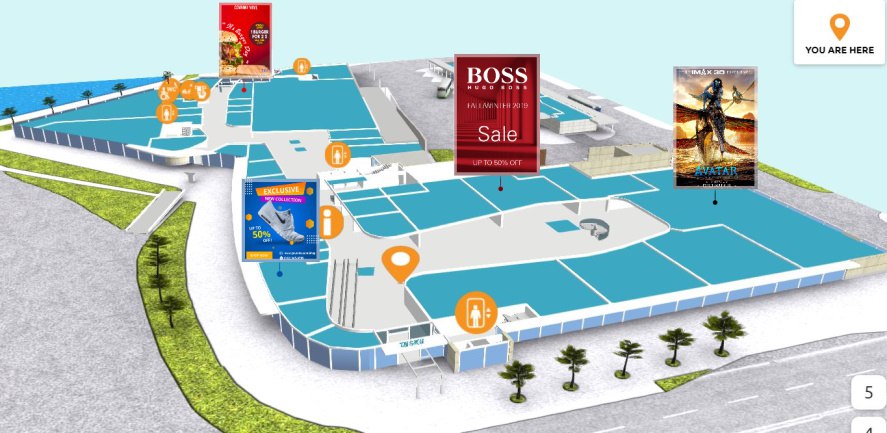
Navigating shopping malls is not always easy. Especially when a building is large, has multiple floors, and spreads stores across different zones, finding the right place can take more time than expected. Therefore, navigation must be clear, logical, and visually easy to understand. We recently created a new 3D Wayfinder demo template called “Mall of Norway.” This sample project demonstrates what a modern and user-friendly wayfinding solutions for shopping malls can look like. However, it is important to note that this is not a real shopping center. The map and floor plan are illustrative and do not correspond to any existing location.

Wayfinding in shopping malls

To begin with, we designed the “Mall of Norway” template with modern user behavior in mind. The interface feels familiar to users who already use mobile apps and digital maps. At the same time, the structure remains logical. Wayfinding in shopping malls feels intuitive. The system highlights important information clearly, and as a result, the learning curve and allows immediate use without instructions.

We created a clean and balanced layout. The interface stays minimalist, yet informative. The map sits at the center and works together with a search and menu panel on the right. The menu is easy to use, and more importantly, it shows store logos alongside written names. This means that users can quickly recognize brands while also reading the names. Users can quickly see the floor level and category at a glance.

Furthermore, the visual language feels modern. We use soft colors, clear icons, and a logical layout throughout. As a result, visual noise is reduced and the focus stays on movement and search. All key features remain accessible without unnecessary complexity. In other words, users do not need to learn the system—they understand it intuitively.

Key features

Fast and logical search

First of all, users can enter a store name or service into a simple “HOME” search field. At the same time, the Home screen also displays quick-access category buttons and logos of the most frequently searched stores.

Additionally, shopping centers can customize categories based on their needs. In the demo, these include:

  • Food & Drinks
  • Fashion & Shoes
  • Home & Household
  • Beauty & Health
  • Services

This approach helps users find what they need, even if they do not know the exact name.

Store information and detail view

Each store includes a dedicated information view. You can add a custom image, such as a campaign visual. The system also shows a pop-up window on the map. This view displays the store name, logo, location, category, floor, and description.

Route display on the map

Users can press the “Show route” button to see the path to a selected destination. Once they choose a destination, the system draws a visual route on the map. The path clearly guides users from point A to point B. Administrators can customize route visualization settings, such as style and speed, in the admin panel based on client preferences. This solution reduces confusion and removes the need to guess directions.

Additional information: parking, transport, services, opening hours

We developed a “Pages” system in 3D Wayfinder. This feature allows users to add additional information as separate pages.

In the demo project, we included:

  • Bus schedules
  • Opening hours
  • General information
  • Parking information

Each shopping center can fully customize these pages based on its needs.

Users can open and close all additional information easily. The system displays content as a centered pop-up while dimming the background. All essential information stays within one system, creating a complete experience rather than just a map.

This reflects the core goal of 3D Wayfinder—to keep all relevant building information in one place.

Benefits for shopping mall visitors

Visitors understand the environment more easily. When the map stays logical and search works quickly, users find destinations without stress.

They save time. Movement becomes smoother, and users reach their destinations faster.

Confidence increases. Users always know where they are and where they are going.

This is the true value of wayfinding—not the map itself, but the clarity and simplicity it creates.

“Mall of Norway” is more than just a demo. It shows what a modern shopping mall wayfinding solution can be. A clear map, fast search, and visual navigation create a better experience. Visitors find their way faster, and the shopping center becomes easier to use. If you want to explore our shopping mall demo in more detail, contact us to schedule a demo.

« »

Tags in Admin for Better Location Search

April 20, 2026

In 3D Wayfinder Admin, tags can be added to every location. This feature should not be seen as a small detail. Stronger location search can be built with well-added tags. Better search results can also be delivered to visitors with less effort. The importance of 3D Wayfinder tags can be seen most clearly in shopping centers. In these projects, stores are often searched by product type. Exact brand names are not always remembered by visitors. Because of that, general keywords are usually entered into mall guide search. A visitor may search for dresses, shoes, or jackets. Another visitor may search for cosmetics, electronics, or coffee. If those terms have been added as location tags, correct results can be shown faster. The search engine can then be supported with better keyword coverage. As a result, the right location can be found more easily.

Tags Are Essential in Shopping Center Search

The value of tags is especially clear in shopping center search. Large centers usually contain many different tenants. Similar products may be offered by several stores. Because of that, search precision should be improved wherever possible. Visitors are rarely guided by store lists alone. Needs are usually searched first. A parent may search for children’s shoes. A customer may search for formal wear. Another person may look for gifts or accessories. These searches can only be matched well when the right tags have been added.

When strong location tags are used, mall guide search becomes more helpful. The building directory can then respond to natural search behavior. Visitors do not need to know every tenant name. Instead, useful results can be shown from simple keywords. This creates a smoother and more intuitive experience.

Bulk Tag Entry Has Made 3D Wayfinder Admin Faster

Tag management has now been made much easier in 3D Wayfinder Admin. Multiple tags can now be added at once by copying and pasting them together. This improvement has made the process faster and more practical. Earlier, tags could only be added one by one. That method was slow and repetitive. It was especially inefficient in larger shopping center projects. When many stores had to be updated, unnecessary manual work was created.

Now, as many tags as needed can be entered in one action. Large keyword lists can therefore be added much faster. Seasonal updates can also be handled more easily. New tenants can be prepared with less effort. Existing locations can be optimized in a more efficient way.

3D Wayfinder tags should be treated as an important part of search quality. They help the search engine understand what each location offers. They also help visitors find places through natural keywords. This is especially important in shopping center search, where tenant names are not always known. When strong tags are added to every location, stronger mall guide search can be achieved. That is why 3D Wayfinder tags should be included in every well-managed project. Start your own Wayfinder today!

« »

3D Wayfinder Meets Partners at ISE 2026 in Barcelona

January 28, 2026

3D Wayfinder team will travel to Barcelona for Integrated Systems Europe (ISE) in February 2026. Our CEO will lead the visit, and we’ll use the event to meet partners, exchange insights, and discuss next steps for upcoming projects. ISE 2026 takes place on 3–6 February at Fira de Barcelona Gran Via.

This year, we won’t exhibit with our own booth. Instead, we’ll focus on meetings and meaningful conversations—both with existing partners and with new teams interested in collaborating. If you’re attending ISE and would like to meet 3D Wayfinder team, get in touch and we’ll schedule a time that works.

Let’s meet in Barcelona

Message us before the event (or during it) and share your availability. We’ll gladly visit your stand, grab a quick coffee near Fira Gran Via, or meet on the show floor. Since the show runs Tuesday to Friday it helps to schedule meetings early.

« »

3D Model of Piusa Caves

January 28, 2026

Piusa’s sandstone tunnels are one of South-Eastern Estonia’s most striking natural heritage sites-shaped by decades of glass-sand mining and now protected for their unique bat-friendly microclimate. Since the caves have been closed to the public due to collapse risk, experiencing this underground world has long been limited to stories and photographs. This project changes that by delivering a 3D model of Piusa Caves that captures the scale, textures, and atmosphere of the tunnels in high detail, allowing visitors to explore the cave system virtually and safely through an interactive application.

The Piusa Sandstone Caves

Between 1922 and 1966, miners extracted glass sand in Piusa and created an extensive underground network of sandstone pillars and vaulted chambers. The tunnel system extends for approximately 20 kilometres, and the unique environmental conditions have made the Piusa caves the largest hibernation site for bats in the Baltic region. For this reason, the area is under nature protection.
The caves once welcomed visitors, but authorities permanently closed them to the public in 2006 because of a collapse risk. Despite this, the Piusa Visitor Centre has become one of the most popular tourist attractions in South-Eastern Estonia.


Modern technology has made it possible to bring this heritage closer to visitors once again. In cooperation with the Piusa Visitor Centre, Võrumaa Development Centre, Võru Municipality, Maperions, and the Estonia–Latvia Interreg programme, a project was launched with the goal of creating an accurate 3D model of approximately 1.2 km² of the Piusa cave system. Through a dedicated application, visitors can now explore the caves virtually.

Our experienced 3D Wayfinder team completed the work. We had previously mapped smaller cave sections with laser scanning. This time, we captured the entire cave system with a different methodology.

Choosing Photogrammetry

The aim was to create a model that was as precise and detailed as possible. After careful evaluation, we chose photogrammetry as the most suitable method for mapping such a large, complex environment. Photogrammetry enables the creation of 3D models from a large number of aligned images and offers high accuracy, while also capturing the natural colours and textures of the caves.


We used dedicated software to align images and generate the model. For this project, we used the professional version of Agisoft Metashape, which also supports 360° panoramic images. However, achieving reliable results required overcoming several challenges—the first being proper lighting conditions.


Photogrammetry requires uniform, diffused lighting that remains consistent throughout the entire capture process. Naturally, such conditions do not exist in caves. To solve this, the Wayfinder team divided the cave into manageable sections using hand-drawn sketches and historical cave maps. Each section was photographed individually, illuminating only one area at a time.


Power was supplied via one fixed electrical outlet, two large battery stations, and approximately 20 construction lights.

Image Capture Workflow

With the section-by-section lighting approach, we photographed the entire cave system using an Insta360 camera on a tripod. We followed a systematic workflow. After installing lighting for a section, the team moved along a pre-planned route, positioned the camera, and captured three images using Automatic Exposure Bracketing (AEB) through a connected mobile app. This produced highly detailed DNG files suitable for further processing.


Because we had to trigger the camera near its position, we had only 5–10 seconds to move out of sight behind a pillar after starting the capture. Each AEB sequence took approximately 15 seconds. Once the app confirmed that the images were taken, the camera was moved forward by roughly 1.5 metres, the position was marked on a sketch, and the process was repeated. During breaks, we checked memory capacity and battery levels.


Using 360° images reduces the number of images needed and allows capture from a single height. Under the given conditions, this proved to be the most efficient approach. Under these conditions, the team found this approach the most efficient. In total, they captured about 1,200 images. The lighting and photography process took 52 hours in the cool, humid cave environment, a challenge the Wayfinder team embraced without hesitation.

3D model of Piusa Caves

Model Creation

High-quality images are essential for creating a high-quality model, but the next major challenge was preparing this large dataset for processing. For each capture position, we merged the three AEB images into one image. We also colour-balanced the result to keep each section consistent.


Model creation was carried out in Agisoft Metashape. Images were organised by area and processed section by section, combining multiple sections where possible to achieve a more cohesive result. In total, the cave model consisted of 16 sections. Each section went through the following stages: image alignment, point cloud generation, and 3D mesh creation.


Due to challenging lighting conditions, the initial models were not perfectly clean. Therefore, the meshes were exported to external 3D software for manual cleanup, correction, and geometry optimisation. It was crucial to maintain the exact coordinate alignment used in Agisoft, as all image alignment was based on this coordinate system. After refinement, we imported the models back into Agisoft. Then generated textures from the aligned images to match the real cave environment as closely as possible.


After all 16 sections were completed, they were carefully assembled into a single coherent model. Using working sketches and distinctive cave features as references, overlapping areas were trimmed where better results existed in other sections. These aligned, textured sections formed the basis for all subsequent steps.

Final Model and Virtual Experience

The Agisoft models delivered high detail, but they also produced extremely large files. Each section ranged from 80 to 250 MB in size, while the final application required the entire cave model—including textures—to remain around 100 MB for optimal performance. This meant reducing the data size by approximately 90% without compromising visual quality.


We achieved this by transferring high-polygon detail onto a low-polygon model using normal maps. First, we merged all sections into one high-detail model. Then created an optimised low-polygon version and added UV mapping. Normal map baking and texture transfer preserved the appearance of the high-detail model while dramatically reducing file size.

Piusa Caves 3D Wayfinder model


We deployed the final model on the 3D Wayfinder platform. We added navigable paths, a user interface, and animated bats. Visitors can now safely explore the otherwise inaccessible cave system on a large interactive screen, experiencing a unique natural heritage site through virtual technology.

You can read a more detailed and technical introduction to our modeling here.

« »

We Supported the Young Motocross Rider Martha Koort, Who Became the Estonian Champion of the 2025 Summer Season

September 10, 2025

3D Technologies R&D is delighted to share great news: young motocross rider Martha Koort was crowned the 2025 summer season Estonian champion in the Arctic Sport MX Masters Women’s class. At the season finale in Lange, Martha Koort did exactly what a title run demanded – kept her cool, took the decisive win, and secured the top spot in the standings. According to the Estonian Motorcycling Federation’s summary, she collected 222 points over the season, finishing ahead of her closest rival, Rita-Liisa Mooses.

Koort’s championship campaign got off to a strong start already in early spring. With relatively few hours on her new, larger bike, she won the opening round in Kiviõli. At the second round in Karksi-Nuia, a crash meant settling for fourth and second places. Valuable points that kept the title fight on course. These early rounds showed both speed and consistency, qualities that proved essential later in the season.

Her summer form was confirmed by several other showings. She took convincing wins at the third and fourth rounds in Tihemetsa and Pärnu. At the ENKV Round 7 held in late August in Linnamäe, she won both motos and claimed the overall with maximum points, underlining that her championship pace was no coincidence. Throughout the season the main challengers pressing Koort were Rita-Liisa Mooses and Elisabeth-Mary Vainrauh.

The title decider at Lange brought one last spike of tension. In qualifying, Mooses set the pace, in the first round, Koort played it slightly safer after receiving penalty points. In the second round, however, she took matters into her own hands – grabbing the lead from the first lap, winning convincingly, and with it securing the Estonian championship. EMF’s official final classification, Martha finished with 222 points, Mooses with 214, and Vainrauh with 178.

3D Wayfinder’s role

3D Wayfinder’s role on this journey was to be Martha’s partner, not just a spectator. We supported the season so that the young rider’s focus could stay on the track rather than on spreadsheets. We also gifted her an Insta360° camera so she can film her rides in the future, analyze lines and trajectories, and share the best moments with fans. This kind of visual “telemetry” helps get the most out of training days and brings authentic perspectives to social media that can inspire other young riders as well.

This partnership is inspiring for us. 3D Wayfinder helps people “find their way faster,” and on track Martha is always searching for the most efficient racing line. Just as great wayfinding makes a large building intuitive, high-quality data and consistent feedback make speed manageable. We believe a young athlete’s success happens when technology, support, and work ethic move in the same direction – and the 2025 championship title is the best proof of that.

Congratulations, Martha! Thank you for the emotion, speed, and perseverance. We will continue to stand by your side so that every next start gate opens with confidence and a clear plan – whether the goal is an Estonian, Baltic, or European podium.

« »

3D Model of the Building of Sorority Amicitia for Their 100th Anniversary

November 27, 2024

3D Wayfinder cooperates with large shopping malls, airports, train stations, universities and other similar institutions on a daily basis. In most cases, we do not deal with projects with seven rooms and the floor area of ​​that is proportional to a typical single-family residence. However, this project is personally special and much more important than it seems at first.

Sorority Amicitia is founded in Tartu, Estonia. This November, Amicitia celebrated its 100th anniversary. As part of the jubilee celebrations, the Amicitia exhibition “A Century Under the Lilac Sorority Cap” is held in the library of the University of Tartu. As part of the exhibition, 3D Wayfinder made a Premium 3D model of the building of Sorority Amicitia.

Premium 3D Model and First Person View

Premium 3D model was chosen because it was important to bring out very precise details. The model is more of a sight in itself than a wayfinding tool. The value of this model lies in the abundance of small details. Nevertheless, the model also has a wayfinding function. This time we decided to try a FPS (first person view), instead of the classic wayfinding top-view for path visualization. For this kind of project, the “First Person View” works perfectly and brings good -real life kind of emotions.

Clickable Billboards and Pop-up Windows

Floating billboards that are clickable are use to mark the rooms. Also billboards are always facing towards user/camera. In addition, when you click on the billboard, a pop-up modal window appears with text describing the room. Such a solution was important, because house tours are usually held in these rooms to present Amiticia’s activities. The text in the Pop-Ups is similar to the text spoken during the tours.

In addition to the locations of the rooms, the locations of various things are tagged in the model. The model has several furniture items that are model in more detail. The most important items are add as POI (point of interest) and are also located in the menus. It is also possible to find a way to them. When you click on an item in the menu, it will flash gold and dark green (this can be configured in 3D Wayfinder Administration panel). Blinking indicates that the item is clickable and you will be guid to it. Clicking will also open a pop-up modal window next to the item. In addition to the introduction text, real pictures are also attach to all items.

Moving Animated Avatars

Additionally, we have discussed adding people to the 3D model as animated avatars. But we don’t plan on adding traditional human figures. Instead, we had in mind to make the avatars moving and differ them by their lilac sorority caps. So that life at the building would seem more lively. By the way, moving people can also be added to our other models, but this is not out of the box solution. If you are interested, please contact our sales manager. Positioning avatars with iBeacons, it would be possible to locate people on the 3D map.

We are happy that such an interesting and different project for us is ready. It is also possible that we are ready to do similar showcase projects again. Projects of this kind would be well suited for exhibitions or museums. We wish the Sorority Amicitia happy 100th anniversary. Vivat, crescat, floreat corporatio Amicitia in aeternum!

« »

Enhancing Wayfinding with QR Codes and NFC Tags

November 20, 2023

In the fast-paced digital era, technology continues to revolutionize the way we interact with our surroundings. One area where innovation has made significant strides is in wayfinding solutions. Gone are the days of paper maps and confusing signage. Today, we explore the synergy between wayfinding with QR codes and NFC tags. How this powerful combination is transforming navigation experiences across various industries?

Wayfinder software has emerged as a game-changer in navigation and location-based services. Leveraging GPS technology, indoor mapping, and intuitive interfaces, these applications simplify the way we navigate complex environments such as airports, malls, hospitals, and campuses. However, to truly elevate the user experience, developers have integrated additional technologies like QR codes and NFC tags.

Many of our customers have used QR codes allready for some time. Because QR-codes provide easy access to building maps without the need for information kiosks. Most people nowadays have smartphones. So with QR-code the map can be open almost with one click. Although with NFC, it is even simpler. Therefore just place your mobile phone near the NFC tag and map will be opened automatically in your cellphone browser.

Now there is option to download QR-codes for each location in 3D Wayfinder administration panel. 

Enhancinh wayfinding with qr codes and nfc tags.

Screens module has to be enable and with each screen there is option to see the QR-code. To download QR-code, you just have to click on it. QR-code will be download in SVG format. It can be used for printing or additional designing.

QR-code takes the template that is mark as default and screen’s location. Screens can be added in 3D Wayfinder editor, by selecting any node and marking it as screen (kiosk). 

QR Codes: Bridging the Physical and Digital Worlds

Quick Response (QR) codes have become ubiquitous in modern society. These two-dimensional barcodes store information that can be quickly scanned by a smartphone camera. Integrating QR codes into wayfinder software enhances the user experience by seamlessly connecting the physical environment with digital information. For instance, in a museum, visitors can scan QR codes next to exhibits to access additional information, audio guides, or interactive content, enriching their overall experience.

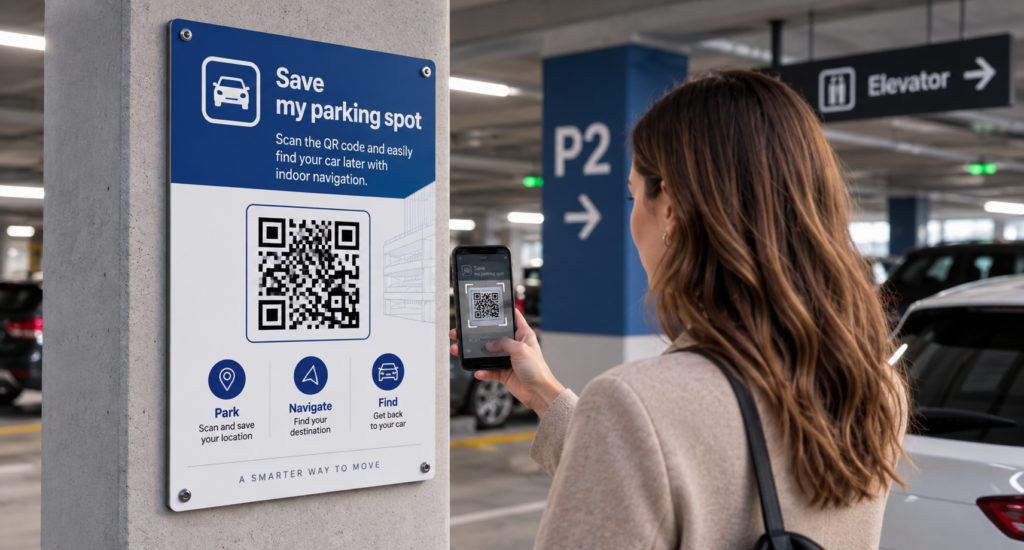
We have helped our customers to use QR-code based navigation in parking lots. So that visitors can easily get their car’s location and later on find the way back to their car. Also we have used QR-codes for exploring the corn-maze. Also in smaller shopping malls it is convenient to use printed QR-codes or QR-codes on digital displays without the need for touch-screen kiosks.

NFC Tags: A Touch of Seamless Connectivity

Near Field Communication (NFC) technology enables short-range wireless communication between devices. When integrated with wayfinder software, NFC tags provide a touch-based solution for users to access information effortlessly. Imagine a smart city scenario where commuters can tap their smartphones on NFC tags at bus stops to instantly access real-time bus schedules, route maps, and service updates. See also our solution for showing transportation schedules.

The Power of Integration

The true power of using wayfinding with QR codes and NFC tags lies in their seamless integration. By combining these technologies. Developers create a multifaceted solution that caters to diverse user preferences and accessibility needs. Whether someone prefers scanning QR codes or tapping NFC tags, the experience remains intuitive and user-friendly. With 3D Wayfinder, every code or NFC tag can be configured as different “You are here” location. 

Applications Across Industries

Retail Environments: In large shopping malls, customers can scan QR codes on directories to quickly locate stores. While NFC tags on products provide detailed information and promotions. QR-codes can be use on digital signage screens or printed on walls with NFC-tags.

Healthcare Facilities

Patients and visitors can navigate hospitals efficiently by scanning QR codes on floor maps or tapping NFC tags to access appointment details and medical information. QR-codes and NFC-tags are important part in our Hopsital Wayfinder solution. That is wayfinding application specially designed for hospitals  

Educational Campuses

Universities can deploy QR codes and NFC tags on campus maps. It make easier for students and visitors to find classrooms, offices, and event locations. Students are usually more opened to innovative solutions and they definitely have smartphones with them. 

Transportation Hubs

Airports and train stations can optimize passenger experience by incorporating QR codes on tickets and NFC tags. For example to see real-time updates on departure gates and delays. We have made integrations for scanning boarding passes on airports. So that visitors can be automatically directed to the right gates. 

Smart Cities

Municipalities can enhance public services by implementing QR codes and NFC tags on signage. Because It is important to providing citizens with instant access to information about local events, services, and emergency alerts.

In conclusion as we navigate the ever-evolving landscape of modern technology. Above all the integration of wayfinder software, QR codes and NFC tags marks a significant milestone in improving user experiences across various industries. This dynamic trio not only simplifies navigation but also opens the door to innovative applications that blend the physical and digital worlds seamlessly. The future of wayfinding is here, and it’s more connected and user-centric than ever before. All our long-time and new customers are welcome to implement our new system. Contact us and we will find the best option for you.

« »